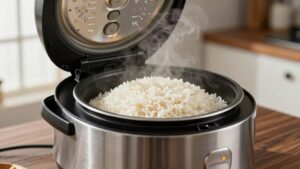
How to Clean a Multi-Cooker Inner Pot and Lid: A Quick Routine
Unplug your multi-cooker and let it cool before cleaning; keep the motor base dry.
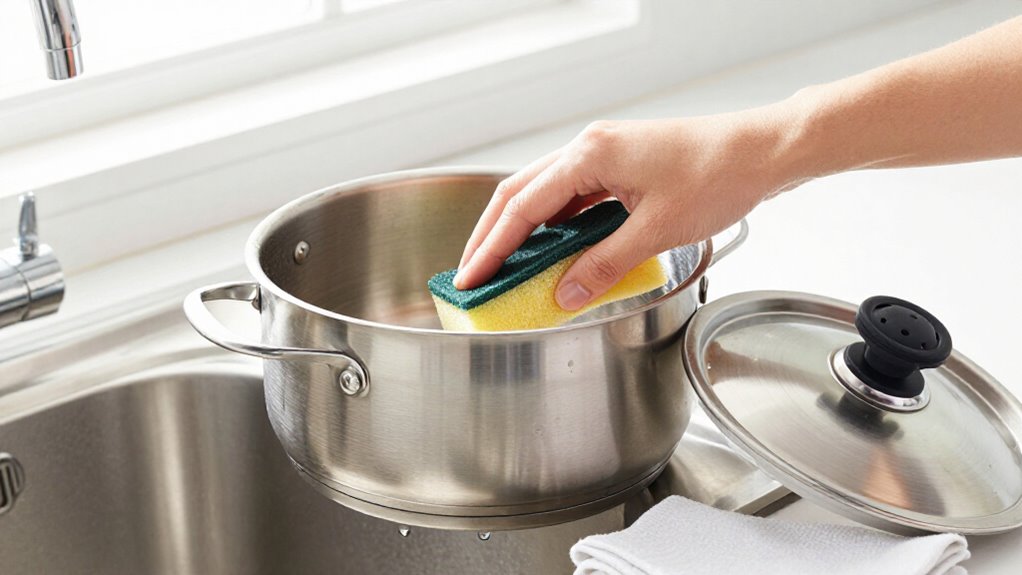
Wash the inner pot with soapy water and a sponge, then rinse and dry it. Inspect the steam-release and float valves, brushing away debris without forcing it into openings.
Hand-wash the sealing ring and lid parts as the manual allows, then dry them separately.
Check the ring for damage, refit it correctly, and store the lid upside down. More tips follow.
Typical Cleaning Time
A routine post-use wash takes just a few minutes: wash the inner pot and lid in warm, soapy water, or put dishwasher-safe parts in the dishwasher. Plan a little longer if you remove the sealing ring and anti-block shield; these steps help you clean the lid thoroughly. Your routine wash should stay brief if you clean the cooker soon after use, before residue hardens.
If food has stuck or stains persist, allow extra time for a gentle soak or a non-abrasive stainless-steel cleanser. Don’t rush or scrape aggressively, since that can damage the finish. After washing, let the sealing ring dry completely before reinstalling it. Check your model’s care instructions, as not every component is dishwasher-safe. Reassemble the lid correctly before your next cooking session.
Gather Soap, Sponge, and Towel
Before cleaning, unplug the multi-cooker and let it cool completely. Set out gentle supplies before you handle the inner pot or lid. Check your sponge for trapped grit or rough spots; worn or abrasive surfaces can scratch stainless steel and damage nonstick coatings. Choose a soft-bristled brush for narrow crevices, and use a lint-free towel to dry cleaned parts without leaving fibers behind.
- Mild, preferably pH-neutral dish soap
- Soft cellulose or microfiber sponge
- Soft-bristled brush or toothbrush
- Clean microfiber or lint-free towel
- Small bowl for a warm, soapy solution
Mix about 1–2 teaspoons of soap per quart of warm water, adjusting for grease. Don’t use steel wool, abrasive pads, bleach, or harsh chemicals; they can harm finishes and silicone. Keep cleaning water away from the motor base. Check your manual before using dishwasher cleaning.
Step 1: Inspect the Steam-Release Valve
Once the cooker has cooled, inspect the steam-release valve after each use for food, grease, or debris that could block pressure release. Remove the steam-release handle by pulling it straight up; don’t twist or force it. Wash the handle in warm, soapy water, rinse it well, and dry it completely before replacing it.
Check the float valve and the openings around both parts for stuck food or grease. Use a small brush if needed, but don’t push debris farther into a passage or damage a component. Make sure every valve opening stays clear. If you suspect a blockage, don’t use the cooker; consult its manual for safe cleaning or service instructions.
Refit the handle securely according to your model’s guidance, then check that the float valve moves freely. A clear, correctly assembled valve helps the cooker release pressure as designed and supports safe operation during use.
Step 2: Unplug and Cool Cooker
Unplug the multi-cooker and let it cool completely before cleaning or handling any parts. Disconnecting it from power helps prevent accidental operation while you work.
Don’t rely on the cooker’s controls or assume a warm appliance is safe to handle. Give the heating chamber and exterior time to reach room temperature; trapped heat can cause burns, and hot components can make washing unsafe.
Once the cooker has cooled, lift out the inner pot and lid carefully, keeping them level if they contain any remaining liquid. Set the parts on a stable surface before washing, and keep the base separate from water.
The base houses the heating element and microprocessor, so never immerse it or let water enter its openings. If the base gets wet, don’t reconnect it; allow it to dry completely and contact Customer Care for guidance.
Step 3: Clean the Lid Sealing Ring
Remove the silicone sealing ring from the lid and wash it by hand with warm, soapy water, or place it in the dishwasher if the manufacturer allows. Check your manual before using the dishwasher, since care instructions vary by model.
If food odors linger, soak the ring in water with white vinegar, then rinse it. You can also keep separate rings for savory and sweet foods to limit flavor transfer.
Dry the ring completely before pressing it back into the lid groove. Check that it sits securely all the way around before cooking; a loose or damaged ring can leak. Inspect it after washing, and replace it if you find cracks, deformation, damage, or leakage. Under normal use, replace the ring every 18–24 months. For less odor or discoloration, consider changing it every 6–12 months.
Step 4: Wash the Inner Pot Surface
After cleaning the lid sealing ring, wash the stainless steel inner pot after every use with warm water and dish soap, or put it in the dishwasher if your model allows. Check your manual before loading the pot, since dishwasher guidance varies by model. If you wash by hand, use a soft sponge, then rinse thoroughly.
Avoid steel wool and abrasive scrubbers; they can scratch the surface. Dry the pot with a clean towel or let it air-dry fully before returning it to the cooker. Harmless water spots or bluish mineral marks can be wiped with white vinegar or a non-abrasive stainless steel cleaner. Follow the cleaner’s label, then wash the pot with soapy water and rinse it well before use.
Step 5: Buff Away Stubborn Food Film
For stubborn food film on a stainless steel inner pot, dampen a soft cloth or non-abrasive sponge and gently rub the area with Bar Keepers Friend Cleanser. Use an amount and follow the product label. If spots persist, mix water and cleanser into a paste, apply it to the film for no more than one minute, then rub gently. Don’t leave the paste sitting longer.
Wash the pot afterward with hot, soapy water, rinse it well, and inspect the surface. If residue remains, repeat the treatment rather than scrubbing harder. Avoid steel wool and abrasive scrubbers; they can scratch stainless steel. Keep your pressure light, and stop if you notice a change in the finish. Check your cooker’s care instructions before using the cleanser.
Step 6: Air-Dry Lid Components Separately
To help prevent trapped moisture and lingering odors, take the sealing ring and anti-block shield off the lid so they can dry separately. Wash the lid and removable parts in warm, soapy water, then rinse them thoroughly. Set the lid upside down on the inner pot and let it air-dry.
Keep the ring and shield apart from the lid, with each piece exposed to air; don’t stack wet parts or return them to a damp surface. Allow every component to dry fully before reassembly. Check that the anti-block shield is dry, then press it back into position. Dry the sealing ring completely and fit it securely into its groove. If you’re unsure whether a part has dried, give it more time before you reassemble.
Check for Lingering Odors
Does an odor linger after cleaning? Check the silicone sealing ring first; it can absorb aromas from savory meals. Remove it and wash it with warm, soapy water, then let it dry completely.
If the smell remains, soak the ring for a few hours in water mixed with 1 cup of white vinegar. Rinse it and air-dry it fully before reinstalling.
To limit flavor transfer, keep separate rings for savory and sweet foods. After washing the lid, let it dry upside down on the inner pot, and dry the ring separately rather than trapping moisture beneath the lid.
Inspect the ring before each use. If you find cracks, deformation, or an odor that persists after cleaning, replace it with a genuine Instant Pot® replacement.
Fixing Persistent Lid Leaks
If steam or liquid keeps escaping around the lid, unplug the cooker and let it cool before checking the seal. Remove the sealing ring, wash it with soapy water, and dry it completely. Refit it securely in the lid’s groove, then inspect it for cracks, deformation, or other damage.
Keep your hands clear of hot steam, and don’t force valves or stretch the ring; follow your model’s manual for removal and installation and approved replacement parts.
| Check | Action | Next step |
|---|---|---|
| Ring | Inspect for damage | Replace damaged or leaking ring with genuine Instant Pot® replacement |
| Valves | Clear food or debris | Clean steam release and float valves thoroughly |
If the leak continues after cleaning and reassembly, contact Instant Pot Customer Care; don’t use a cooker that still leaks.
Store Lid Upside Down
Once the lid is clean and dry, store it upside down on the inner pot to help it air out and reduce lingering odors.
Remove the sealing ring before storage so it can dry separately. If you washed parts, check that each is completely dry before you reassemble or store it. Trapped moisture can linger in seams and around the valve, so let those areas air-dry.
Keep the ring off the lid while both dry; then store it separately rather than pressing it into a damp groove. When you’re ready to use the cooker, inspect the ring and lid for moisture or residue, and fit the ring back according to your model’s instructions. Don’t seal or operate the cooker until its parts are dry and correctly assembled.
Conclusion
Keep your multi-cooker clean by letting it cool, unplugging it, and washing the inner pot and lid with soap and a soft sponge. Check the steam-release valve and sealing ring for trapped food, lingering odors, or damage, and dry lid components separately before reassembly.
If leaks persist, stop using the cooker until you’ve checked the seal and followed the manufacturer’s instructions. Store the lid upside down only when fully dry. A quick routine helps keep your cooker ready and safe to use.