Descaling and Maintaining Countertop Cooking Appliances: A Routine Guide
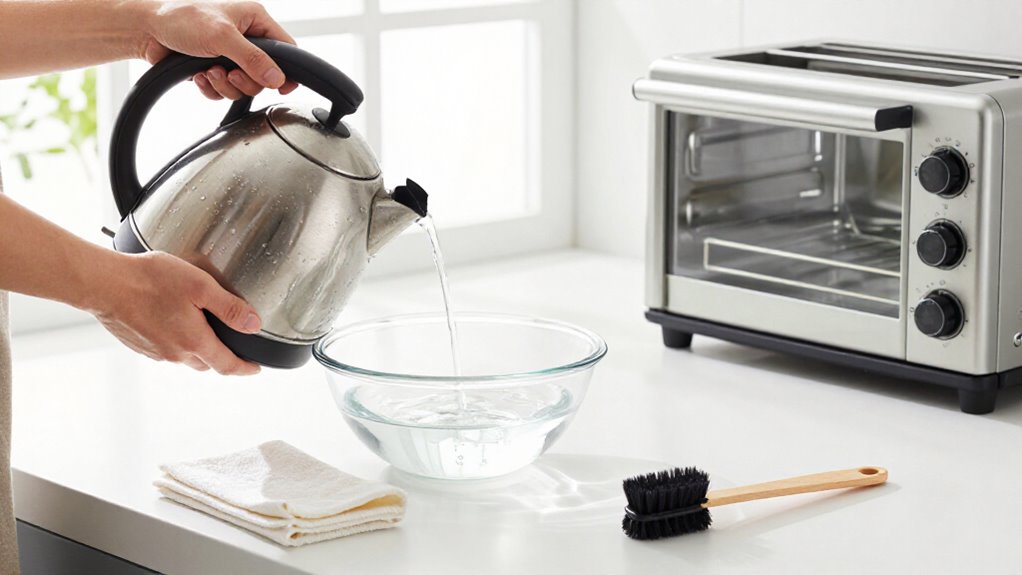
Unplug appliances and let them cool before cleaning; keep the electrical base dry, and inspect the cord and plug for damage. Wipe surfaces with a just-damp soft cloth, avoiding vents and controls, and skip abrasives unless the manual approves them.
Descale only on the manufacturer’s schedule, adjusting for hard water, frequent use, or scale. Use citric acid only at an approved concentration. Rinse and dry as directed, log service dates, and learn which symptoms need attention.
Mineral Deposits on Heating Plates
Mineral deposits form on a heating plate when water evaporates and leaves scale behind. This buildup can interfere with heat transfer and slow your appliance’s operation. Inspect the plate and descale when you see deposits or notice performance changes.
Follow the appliance manual’s schedule and procedure; manufacturers may specify a product or cleaning method. Use only a descaler approved for your model. Vinegar and citric acid can damage some materials, so don’t substitute them unless the manual permits it. Before cleaning, unplug the appliance and wait until the heating plate has cooled completely. Never immerse the electrical base or pour water onto it. Treat the plate only as directed by the manual, then make sure it’s fully dry before reconnecting or using the appliance.
Water and Soft Cloths
For routine cleaning, use water to lift loose soil, light grease, and residue, and use a soft microfiber or cotton cloth to avoid scratching appliance surfaces. Before wiping, disconnect the appliance and let it cool. Never submerge motor bases or controls.
- Dampen a cloth with warm water; wring it until just damp.
- Add one or two drops of mild dish soap to loosen grease.
- Wipe gently, keeping liquid away from vents, seams, and controls.
- Buff dry with a clean cloth; use filtered or distilled water to limit streaks.
Don’t pour water directly onto the appliance. Check its manual for approved cleaners, and avoid abrasive pads that can damage coatings. For routine care, wipe spills promptly; dry removable parts before returning them to the appliance.
Cord and Plug Inspection
After wiping the appliance, unplug it and let hot parts cool before inspecting the cord and plug. Trace the entire cord; inspect the plug, too. Look for cuts, cracks, fraying, exposed wires, crushed sections, bent prongs, looseness, discoloration, or scorch marks.
| Check | What to look for | Your response |
|---|---|---|
| Cord | Cuts, cracks, fraying, exposed wires, crushed sections | Stop use if damaged |
| Plug | Bent prongs, looseness, discoloration, scorch marks | Stop use if damaged |
| Damage | Any defect found | Don’t tape or self-repair |
| Safe handling | Heat, water, sharp edges | Pull plug, not cord |
Keep the cord away from hot surfaces, water, and sharp edges; pull the plug itself from the outlet. Follow the manufacturer’s repair or replacement instructions, and have damaged electrical parts serviced by a qualified professional when damage appears.
Citric Acid Descaling Mix
Before mixing citric acid, check your appliance manual for approval and use its specified ratio. Unplug the appliance, keep liquid away from its electrical base, and follow the approved descaling steps without mixing in other cleaners. Rinse or flush it as directed, then dry removable parts before reassembly.
Citric Acid Ratio
Citric acid has no universal descaling ratio for countertop appliances. The correct concentration depends on the appliance’s design, materials, and the manufacturer’s approved procedure. Check your manual before choosing a product or measuring a dilution; don’t assume a recipe intended for a kettle suits a coffee maker, toaster oven, or other device.
If the manual doesn’t specify citric acid or provide a dilution, contact the manufacturer rather than estimating. Using an overly concentrated solution may damage components, while an unsuitable product can affect seals or finishes. Use citric acid only when the manufacturer permits it, and never combine it with bleach, vinegar, or other cleaning chemicals. After descaling, rinse the appliance thoroughly as directed to remove residue, then dry removable parts fully before reassembly.
Mixing the Solution
Once the manual confirms citric acid is suitable, measure it and cool, clean water to the specified ratio. Don’t estimate. Use the concentration stated for your appliance; a weak mix may not remove scale effectively.
Add the measured citric acid to the water in a container. Stir until no crystals remain, checking the bottom and sides so undissolved granules don’t enter the reservoir. Prepare only the volume required for one descaling cycle; don’t store leftovers or combine them with another cleaner.
Never mix citric acid with bleach or other cleaning chemicals. Once the powder has dissolved completely, pour the solution into the appliance’s reservoir and proceed exactly as the manual directs. After the cycle, follow its rinsing instructions to clear residual acid from the system.
Safe Appliance Compatibility
Because appliance materials and descaling systems vary, check the manual to confirm that the manufacturer approves citric acid for your model and its parts. Use the acid only in approved appliances and components; don’t assume a kettle’s, coffee maker’s, or cooker’s metal, coating, gasket, or reservoir tolerates it.
Confirm whether the manual excludes particular materials or removable parts, and follow its stated concentration, procedure, and rinse requirements exactly. Don’t adapt a recipe or increase strength to address heavy scale: an unsuitable solution can damage surfaces, seals, or internal components.
Before handling removable pieces, unplug the appliance, and keep its electrical base dry; never immerse the base. Never combine citric acid with bleach or any other cleaning chemical, because mixing products can create hazardous reactions.
If guidance is unclear, contact the manufacturer or use a descaler it specifically recommends. Check countertop contact separately; appliance approval doesn’t establish surface compatibility.
Descaling Steps
After confirming that your appliance allows citric acid, check its manual for the specified amount, descaling cycle, and rinsing steps.
Unplug the appliance before you remove any detachable components; never immerse its electrical base or body in water. Measure clean water and dissolve only the manual-specified quantity of citric acid. Don’t estimate the concentration: appliance designs and manufacturer guidance vary.
Prepare the unit as directed, keeping removable parts separate if the instructions call for soaking. Run the solution only through the approved descaling process, such as the designated cycle for your model. Don’t substitute a generic program or extend the cycle beyond the stated duration. Discard the used solution as the manual directs. Follow its stated post-cycle procedure before you reassemble the appliance safely.
Rinsing After Descaling
When the descaling cycle ends, empty the reservoir and rinse it thoroughly with clean water. Refill the reservoir with fresh water and run a plain-water cycle if your appliance’s manual recommends one.
Follow the specified number of rinse cycles; your model may require more. If you still detect a sour taste or suspect citric-acid residue, repeat the rinse or water cycle before using the appliance.
Wash removable parts that contacted the descaling solution with warm water and mild dish soap, but only if your manual permits it. Rinse those parts thoroughly so soap and acid traces don’t remain.
Let every rinsed component dry fully before you reassemble the appliance. Check the manual for any model-specific steps before returning it to service.
Hard-Water Descaling Schedule
Check your water hardness to gauge how quickly mineral scale may form. Set descaling intervals according to your appliance manual, then inspect more often if you have hard water. Shorten the interval if you notice visible scale, slower operation, or altered taste.
Assess Water Hardness
Hard water leaves mineral scale faster, so you may need to descale countertop appliances more often than you would with soft water.
To assess your supply, check your water utility report for hardness levels, or use a water-hardness test strip according to its instructions. Results can help you distinguish soft, moderately hard, and hard water.
At home, watch for recurring white or chalky deposits in a kettle, coffee maker, or other heated appliance. Slower brewing or heating and altered beverage taste can also signal scale; these signs reflect appliance performance, not a hardness measurement.
Check the appliance manual before choosing vinegar, citric acid, or commercial descaler because approved methods differ by model. Keep a simple record of dates, observed deposits, and results after descaling.
Set Descaling Intervals
Set a descaling interval based on your appliance manual, water hardness, and how often you use the appliance. Check the manual for the recommended interval, approved descaler, and model-specific instructions. In hard-water areas, mineral deposits can form faster, so your appliance may need more frequent scheduled descaling than one used with soft water.
Base the interval on both local water conditions and your typical use; frequent brewing or heating increases the number of cycles between cleanings. If the manufacturer gives a range, choose a schedule suited to your water and usage, while staying within its guidance. Use vinegar, citric acid, or a commercial descaler only when the manual approves it. Follow its directions, and never mix descaling products or combine them with other cleaning chemicals. Keep dated records.
Adjust for Scale Buildup
If your appliance uses hard water or runs frequently, shorten the descaling interval within the schedule allowed by its manual. Check the reservoir and other water-contact areas regularly; visible deposits can signal that scale is accumulating faster than your routine interval anticipates.
Descale sooner if brewing or heating slows, or if the water’s taste changes, even when the next scheduled cycle isn’t due.
Use only the method and descaler your appliance manual approves; models differ in materials and cleaning procedures. Don’t assume vinegar is safe: use it only when the manufacturer permits it, and never mix it with another cleaner. After treatment, follow the manual’s rinsing directions to clear residues that could affect taste or appliance performance, and resume the interval you’ve chosen carefully.
Even Browning on Toasters
For more even browning, empty the toaster’s crumb tray regularly because scorched crumbs can interfere with heat distribution.
Unplug the toaster and let it cool before cleaning. Remove the tray and brush crumbs from slots and hard-to-reach areas with a soft, dry brush or toothbrush. Don’t insert tools near heating elements while the toaster’s plugged in.
Wipe the exterior and clean the tray separately; let both dry completely before you reassemble or reconnect the appliance. If slices brown unevenly, check slots and elements for debris. Center each slice and use bread with similar thickness and moisture levels to support consistent results.
Avoid forcing crumbs deeper into the toaster during brushing. Inspect the tray after use, especially when you’re toasting frequently, and empty it regularly.
Steam Vent Blockage Checks
When steam output drops or food residue collects around the vents, check for blockages before using the appliance again. Unplug it and let it cool completely. Inspect each opening for visible food, grease, or mineral residue that may restrict airflow.
Use a soft, dry brush or cloth to lift loose debris gently. Don’t insert sharp tools or force material deeper into the vent. Wipe the surrounding area with a lightly damp cloth, keeping moisture out of the appliance; never pour water into it or immerse its electrical body.
Consult your manual for model-specific cleaning instructions, since vent design and access vary. Before reconnecting or operating the unit, confirm the vents and nearby surfaces are clean and dry, following the manufacturer’s guidance first.
Avoiding Abrasive Scrubbers
Use a soft sponge or cloth to clean removable appliance parts; metal scrubbers can scratch coatings on air-fryer baskets and trays. For stuck-on grease or food, soak removable parts briefly in warm, soapy water, then wipe gently; don’t scrape them.
- Match your cleaner to the surface material; harsh or abrasive products can leave scratches or marks.
- Spot-test uncertain cleaners in an inconspicuous area; check for marks after 15–20 minutes.
- Follow your appliance manual’s approved cleaning methods for each removable part and exterior.
- Use an abrasive scrubber only when the manufacturer explicitly says that part can tolerate it.
Apply pressure and rinse removable parts after cleaning, then dry them as directed. This protects coatings and helps prevent cleaner residue from affecting food contact or appliance operation.
Log Cleaning Dates
After each cleaning or descaling, record the date, appliance, and task—such as filter care—in a calendar or appliance log. Keep the log beside your appliance manuals so you can check maintenance history. Include whether you cleaned a removable part, flushed a brewing path, or completed a descaling cycle.
Note symptoms observed before and after service, including slower brewing, scale, unusual odors, or changed taste. These entries help you identify recurring problems and distinguish buildup from a developing fault. Use the manufacturer’s recommended interval to schedule the next cleaning or descaling; adjust only when the manual permits. If symptoms return after maintenance, review the log and consult the manual for troubleshooting steps. A record helps you avoid missed service and repeat cleaning.
Conclusion
Keep your countertop cooking appliances clean and dry to reduce mineral buildup and support reliable heating. After each cleaning, record the date and any descaling or inspection performed; use the log to adjust intervals for your water hardness and appliance use. Before the next cycle, check that the cord, plug, heating surfaces, and steam vents are clear and intact. Follow the manufacturer’s instructions, and stop using an appliance if you find electrical damage or persistent faults.