How to Safely Dispose of Deep Fryer Oil: A Step-by-Step Guide
Turn off the fryer and let the oil cool completely; never add water or move warm oil. Clear nearby clutter, keep children and pets away, and wear heat-resistant gloves only once the oil is cool.
Strain usable oil through a fine-mesh sieve into a dry, leakproof container, then seal and label it. Recycle or dispose of it according to local rules, never pour it down a drain. More safety tips follow below.
Oil Cooling Time
Before handling fryer oil, turn off the burner and let the oil cool completely, it may take several hours, depending on the amount and the pot. Keep the pot on a cool burner if you can do so safely, or move it carefully to a heat-resistant surface such as a metal trivet. Never add water or ice to hot oil to speed cooling; either can trigger a violent eruption of scalding liquid.
For faster cooling without adding risk, point a small fan across the oil’s surface. Don’t touch or transfer the oil while it’s warm. Wait until it’s completely cool before pouring it into any container, since warm oil can warp or melt plastic. Allow enough time rather than relying on a fixed schedule.
Gather Disposal Supplies
Once the oil is completely cool, gather a sturdy, sealable container, a funnel, and gloves before transferring it. Choose a food-grade plastic tub, metal can, or glass jar with a tight lid; avoid thin bags that may puncture.
Set out a wide-mouth funnel and fine-mesh strainer or cheesecloth if you’ll filter oil for reuse. For disposal, check your local rules before choosing a single-use carton or solidifier; use solidifier only as its label directs.
- Wear gloves and keep heat-resistant mitts nearby for handling warm equipment.
- Match container size to your oil volume; several sealed containers are safer to carry than one oversized vessel.
- Add a waterproof label noting “used oil: do not pour down drain,” plus the date and oil type before storage.
Step 1: Clear the Countertop Nearby
With your supplies ready, clear the counter near the fryer of food, utensils, paper towels, and other clutter. Give yourself enough open space to let the oil cool. Set a sturdy, heat-resistant surface, such as a metal trivet, within reach so you can place a pot there once it’s safe to move.
Put your sealable disposal container nearby, but don’t pour anything into it until the oil has cooled completely. Keep the work area dry; water or ice contacting hot oil can trigger a violent eruption of scalding liquid. Move anything that could catch your feet or make you bump the pot, and make sure you can carry cooled oil without obstruction. This setup helps prevent spills and keeps oil out of drains and the environment.
Step 2: Wear Heat-Resistant Gloves
Wear heat-resistant gloves when handling the fryer or its oil, even after you switch off the burner, since the oil may still be hot enough to cause severe burns.
Choose gloves designed for heat, and check that they fit securely; loose or damaged protection can make a spill harder to control. Keep the pot on a stable, heat-resistant surface and let the oil cool completely before you handle it further.
Gloves reduce contact risk, but they don’t make hot oil safe to move or strain. Never add water or ice to hot oil; even with gloves, they can trigger a violent eruption of scalding liquid. Move the pot only if necessary, and keep children and pets clear while it cools to prevent accidental contact.
Step 3: Filter Oil Into Container
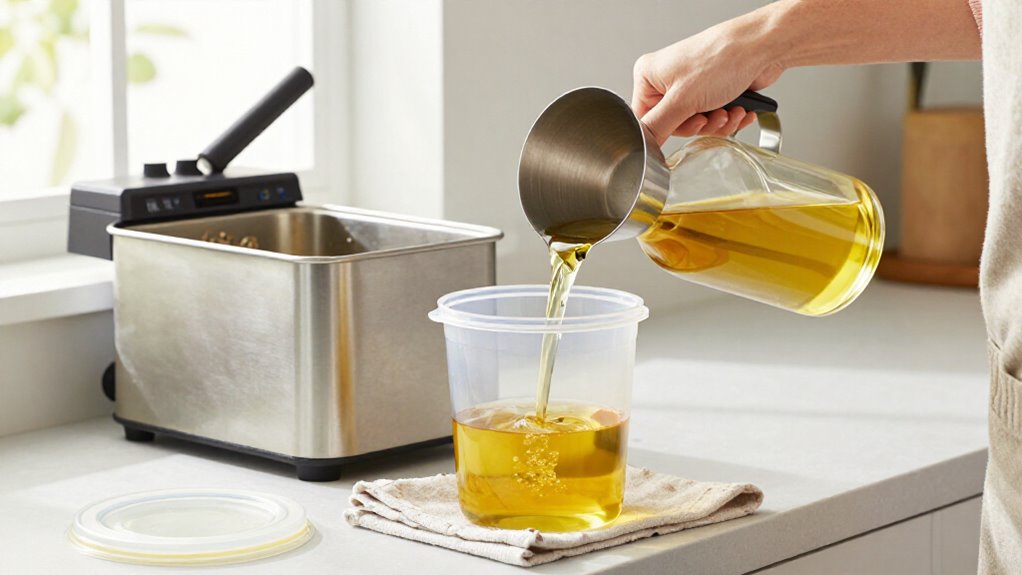
After the oil has cooled completely, filter it into the right container. Use a fine-mesh sieve to catch crumbs and food particles. For finer filtration, place several layers of cheesecloth over the opening. Keep the container on a heatproof surface and pour slowly to prevent splashes and spills.
Never add water or ice to hot or cooling oil; contact can send scalding liquid erupting. If you’ll reuse the oil, choose a clean, dry, heatproof container with a tight-fitting lid. If you’re discarding it, use a sturdy, sealable container intended for disposal. Don’t pour oil into a sink or toilet, since it can clog pipes and burden wastewater systems. For recycling, follow collection guidance and keep the container in a cool, dark place until drop-off.
Step 4: Seal and Label the Oil Container
Once the oil has cooled completely, pour it into a sturdy, non-recyclable container with a tight-fitting lid, such as a screw-top bottle or takeout tub. Choose a container large enough for the oil, and avoid thin plastic that could warp. Tighten the lid firmly to contain the oil, deter pests, and keep oily waste from reaching soil or waterways. Don’t mix it with other liquids; separation supports safe handling and recycling.
Label it clearly as used cooking oil. Add the date and oil type if you’ll store it or take it to a collection center, so others can identify it. Keep the sealed container in a cool, dark place until drop-off, and follow local collection guidance for safe, responsible disposal or recycling.
Step 5: Check for Leaks Before Storage
Before storing the oil, make sure it’s completely cool, then check the sturdy, non-recyclable container for cracks, holes, or a damaged lid. Don’t transfer warm oil: it can warp or melt plastic and create a leak before you notice. If you find any damage, choose another sturdy container with a tight-fitting lid, such as a screw-cap bottle or plastic takeout tub. After filling, close the lid firmly and inspect the cap and seams for seepage.
Wipe away any oil on the outside, then check again; even a small drip can spread, attract pests, or contaminate surfaces. Keep the container upright in a cool, dark place until you take it for disposal or recycling. Don’t carry or store a container that won’t seal securely. A sound container helps protect you from spills and keeps oil out of drains and soil, where it can harm infrastructure and the environment.
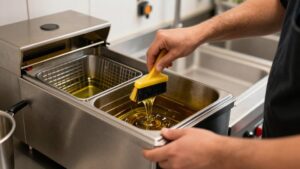
Step 6: Degrease the Fryer Rim
Let the fryer and oil cool completely before cleaning the rim to prevent burns and splashes. Keep the fryer unplugged while you work, and take care not to let cleaning liquids or loosened grease drip into the oil if you plan to reuse it.
Wipe the rim with paper towels to lift away grease. Put the used towels in the trash; don’t rinse grease into the sink, where it can contribute to blocked pipes. If residue clings, sprinkle baking soda or cornstarch over it, wait a few minutes for the powder to absorb the oil, then wipe it up.
Next, use a cloth and a suitable degreasing cleaner. White vinegar can work, but rinse it off afterward and avoid using it on surfaces it may damage. Keep cleanup waste contained.
Confirm No Greasy Film Remains
After disposing of the oil, wipe the fryer or pan with a paper towel, then wash it with warm water and dish soap to remove leftover grease. Dry the surface and check for an oily sheen or slippery feel. If you spot residue, wash it again rather than letting grease reach a drain, where it can contribute to blockages.
For oil spilled on a counter or floor, cover the spill with flour, cornstarch, baking soda, or salt. Let the absorbent sit for a few minutes, then sweep it up and place it in the trash. Wipe the area with a cloth and undiluted distilled white vinegar to cut through remaining fat. Rinse with plain water, since vinegar can damage some surfaces if left in place. Keep the floor dry to prevent slips.
Persistent Smoke After Frying
If smoke continues after frying, the oil may have overheated or broken down. Turn off the burner and let the oil cool before you approach or handle it. Never add water or ice; either can make hot oil erupt and cause burns.
| Check | What you should do |
|---|---|
| Dark, cloudy, rancid, or off-smelling oil | Discard it |
| Thick foam when heated | Discard it |
| Clear, golden oil without off odors or excess foam | Strain after cooling; reuse if suitable |
When the oil fails these checks, don’t pour it down a drain. Once cool, solidify it or seal it in a sturdy, leakproof container. Take it to an oil-recycling program, or follow disposal rules. If you’re unsure, choose disposal rather than risking food quality or safety.
Set a Fryer Cleaning Schedule
Set a regular fryer-cleaning and oil-change schedule based on how often you use the fryer and how quickly the oil darkens, smells off, or foams. After each use, remove food bits, then filter oil only after it has cooled; log each filtering and oil change with the date and condition.
Schedule cleaning when the fryer is off and the oil has cooled completely. Never add water or ice to hot oil, which can splatter and cause severe burns. Assign a staff member to maintain the log and check that everyone follows the plan. Review the schedule regularly and adjust it as use changes or oil degrades faster. For commercial kitchens, coordinate oil-collection pickups with maintenance so used oil doesn’t build up or risk spills.
Conclusion
Let the oil cool completely before you handle it, then filter it into a sealed, leakproof container and follow your local disposal rules. Don’t pour grease down the drain or into soil; it can clog pipes and harm waterways.
Wipe the fryer rim and surfaces, and confirm no oily film remains. If smoke persists, stop using the fryer and inspect it. Keep a cleaning schedule, and you’ll reduce risks while making safe disposal a habit.