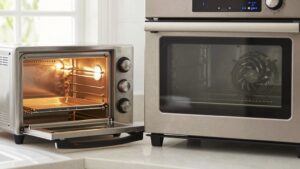
Cleaning a Countertop Oven Interior: A Step-by-Step Routine
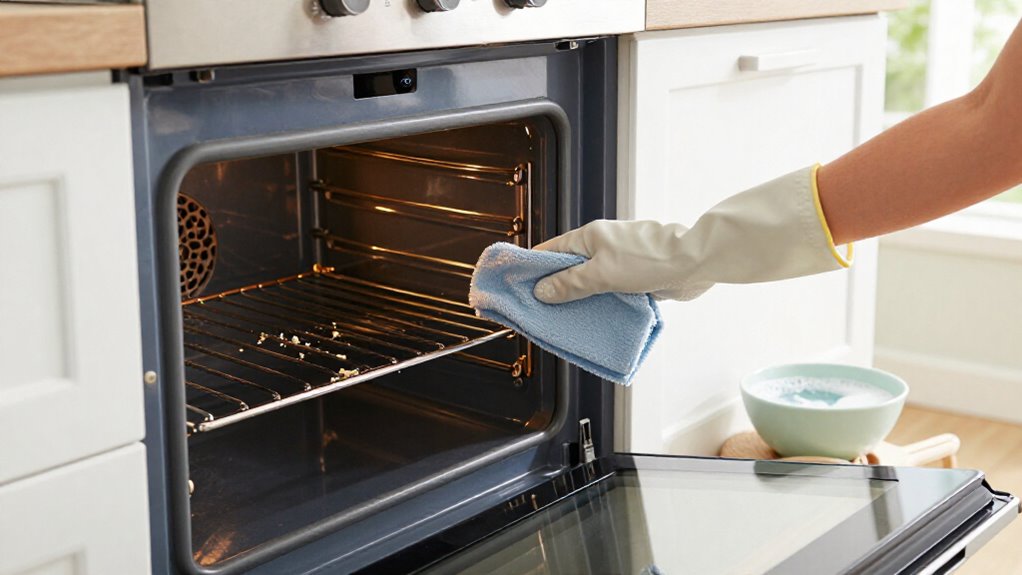
Unplug your countertop oven and let it cool completely. Check its manual for approved cleaners and removable parts. Slide out the crumb tray, remove crumbs, wash with warm soapy water, and dry fully.
Wipe interior walls gently with a damp cloth, keeping cleaners and pressure away from heating elements. Apply baking-soda paste only to stubborn stains, then wipe clean.
Reinstall the dry tray and follow the maker’s brief empty-preheat instructions. More model-specific guidance can help you prevent odors.
Grease and Crumb Removal
Once the oven is unplugged and completely cool, remove the racks and drip tray. Clear crumbs from the oven and tray with a soft brush or cloth. Wipe the interior with a sponge dampened in warm, soapy water, working gently around surfaces and avoiding excess moisture near electrical parts.
For baked-on interior grease, spread a layer of baking-soda-and-water paste over the affected area. Let it sit for about 30 minutes, then wipe it off with a clean, damp cloth.
If residue remains on the drip tray, use a grease-cutting cleaner or briefly soak it in water with Bar Keepers Friend. Rinse and dry parts thoroughly before replacing them. Avoid steel wool and harsh abrasives, which can scratch the oven’s interior or damage nonstick surfaces.
Check the Manufacturer’s Manual
Before cleaning, check your countertop oven’s manual for model-specific instructions, including approved cleaners, tools, removable parts, and safety precautions.
If you can’t locate the printed copy, search the manufacturer’s support site using the brand and full model number; retailer listings may also link to a PDF. Record the serial number and features such as coatings, exposed elements, or a glass door to confirm you’ve found the right guidance. Pay special attention to warranty limits and warnings against unsupported self-clean cycles, disassembly, immersion, or moisture near electrical parts. Unplug the oven and let it cool fully before you begin. Don’t guess when uncertain.
- Avoid bleach or oven sprays.
- Use approved cloths and pads.
- Never immerse unit, cord, or plug.
- Follow glass-care directions.
- Check reassembly warnings.
Step 1: Remove the Crumb Tray
With the oven unplugged and completely cool, slide out the crumb tray so you can clean it separately from the interior.
Set the tray on a stable surface, and check your manual for any model-specific care instructions. Wipe loose crumbs into the trash before washing to keep them out of the drain. Start with a sponge dipped in warm, soapy water, rubbing the tray to lift grease and everyday residue.
If stains remain, use a lightly abrasive Magic Eraser or a grease-cutting cleaner, following its label and avoiding excessive scrubbing that could damage the tray’s finish. For baked-on marks, spread a paste of baking soda and water over the affected areas. Let it sit for about 30 minutes, then rub the paste away with a damp sponge. Rinse the tray thoroughly and dry it completely with a towel before you slide it back into the oven.
Step 2: Protect the Heating Elements
Unplug the countertop oven and let it cool completely before cleaning near the heating elements.
Leave the elements untouched as you clean. Pressing or scrubbing them can break the wires or damage their connections. Keep your sponge and cloth on the interior walls, and wipe gently around each element without dragging fabric across it. Avoid steel wool and other abrasive tools; they can scratch the oven’s surfaces.
Don’t let baking-soda paste or any other cleaner touch the elements. Residue or drips can burn when you use the oven again. If you spot grease or crumbs on an element, don’t scrape or soak it. Leave it alone and allow incidental residue to burn off during normal use. Check the manual for model-specific cleaning guidance.
Step 3: Spread Baking-Soda Paste
Once the heating elements are protected, mix baking soda with enough water to make a spreadable paste. Stir gradually, adding water a teaspoon at a time, until the mixture holds its shape without dripping. Keep the oven unplugged and cool while you work.
Use a spoon or gloved fingers to dab paste onto stubborn stains and baked-on grease. Cover each mark with a thin layer, keeping the mixture away from heating elements, vents, and surfaces the manual says not to wet. Don’t coat clean areas unnecessarily. Let the paste sit for about 30 minutes to loosen residue; set a timer, and don’t turn on the oven while it rests. Avoid steel wool and abrasive pads, which can scratch the interior. Apply it only to the stained areas.
Step 4: Wipe Interior Walls Gently
After the baking-soda paste has loosened the stains, wipe the interior walls gently with a damp, soapy sponge or cloth. Unplug the oven and let it cool completely; never clean a warm appliance. Wring out your sponge so it’s damp, not dripping, and wipe gently. Use soapy water as grime transfers, then go over the surfaces with a clean damp cloth to remove soap and loosened residue.
Don’t use steel wool, abrasive scrubbers, or caustic cleaners, since they can scratch or damage the finish. Keep your sponge away from the heating elements, and don’t press on them: pressure can break them. If water or residue drips onto an element, leave it alone; it’ll burn off. Let the interior air-dry before reconnecting or using the oven.
Step 5: Loosen Stubborn Grease Spots
If stubborn grease remains, unplug the countertop oven and let it cool completely before treating the spots. Mix baking soda with a little water to make a thick paste. Spread it over each greasy mark and leave it for about 30 minutes so the residue softens.
Then gently rub the area with a non-scratch sponge. Use light pressure and work in small circles; avoid steel wool because it can scratch the oven’s interior.
For light brown staining, you can use a lightly abrasive Magic Eraser, but don’t press near heating elements. Even gentle contact or force there could break them.
Wipe the treated surfaces with a damp cloth until no paste remains, then dry the area thoroughly. Don’t use the oven again until it’s dry.
Step 6: Reinstall the Crumb Tray
When the crumb tray is clean and completely dry, slide it back into its designated position without forcing it. Check that it sits flat and securely in place; a tilted or loose tray can shift during use. If it resists, pull it out and look for an obstruction rather than pushing harder.
Before replacing it, inspect the space beneath and around the tray. Remove any remaining crumbs or cleaning residue with a damp cloth, then let the area dry. Residue left behind may smoke or transfer odors when you cook. Keep the tray installed whenever you’re using the oven; it catches drips and crumbs and helps keep the interior cleaner. Don’t use the oven with the tray missing, partly inserted, or sitting unevenly.
Brief Empty Preheat Test
Once the oven is reassembled and everything is completely dry, run it empty for a brief test to confirm it works normally. Follow your manufacturer’s instructions for the test, since settings and timing vary by model; don’t assume a particular temperature or duration. Plug in the oven and start the prescribed brief heating cycle. Stay nearby throughout, keeping the area clear and watching the appliance rather than leaving it unattended.
Check that the controls respond and the oven heats as expected. If you see smoke or notice an unusual odor, switch the oven off promptly. Let it cool completely before opening or inspecting it. Check interior and accessories for cleaner or residue, and make sure all parts are clean and dry before using it again.
Diagnose Lingering Cleaning Odors
A lingering smell after cleaning usually means residue remains somewhere in the oven. Unplug it, let it cool completely, then inspect the interior walls, racks, and drip tray. Wipe any cleaner or food film with a damp cloth, and dry each surface thoroughly.
| Check | What to do |
|---|---|
| Walls | Wipe residue; dry fully. |
| Racks, tray | Damp-wipe; dry before use. |
| Dishes | Rinse away vinegar or cleaner. |
Rinse trays and dishes well; heated vinegar or cleaner residue can cause odors or affect food flavor. Leave heating elements alone: drips should burn off over time; scrubbing can damage them. Avoid caustic cleaners and abrasives; they can harm painted or nonstick finishes and contribute to odors. Clean weekly, based on use, to limit grease and food buildup when possible.
Wipe the Oven Door Seal
Before wiping the oven door seal, unplug the countertop oven and let it cool completely. Open the door gently and inspect the seal for crumbs or greasy residue. Use a soft, damp cloth or a sponge with mild soapy water, then wipe along the seal without tugging or stretching it.
Work carefully around corners and folds, where debris can collect. Don’t apply caustic cleaners or scrub with abrasive pads; they can weaken or damage the seal and nearby surfaces. Keep water and soap from pooling around the seal, and avoid soaking the surrounding area.
Finish by wiping away any cleaner with a clean, damp cloth, then dry the seal thoroughly with a clean cloth. Check that no residue remains before closing the door.
Conclusion
When you’re finished, make sure the oven is completely dry before you plug it in or heat it. Check the manual for any model-specific restrictions, and never wet heating elements or immerse the appliance. Reinstall the crumb tray only after cleaning, then run a brief empty preheat test with ventilation.
If odors linger, turn the oven off, let it cool, and inspect for residue. A clean door seal and crumb removal help keep cooking safer.