Toaster Oven Temperature Accuracy Testing at Home
You can reliably test your toaster oven’s temperature by placing a calibrated probe or oven thermometer at the center rack, 2–3 inches from walls. Preheat to the target. Log readings every 5–15 minutes for 20–30 minutes and average them to see cycling and overshoot.
Adjust per the manual if averages drift beyond 10–25°F; retest and record results. Follow a monthly schedule for heavy use or quarterly for occasional use to keep temps consistent.
Details and step‑by‑step checks follow.
Quick Overview
- Place a certified oven thermometer or probe at the center rack, 2–3 inches from walls, not touching metal, for true air temperature.
- Preheat to the target. Log thermometer readings every 5–15 minutes for 20–30 minutes and compute the average.
- Compare the averaged reading to the setpoint. Adjust if deviation exceeds about ±25°F for safety and accuracy.
- Watch for cycling and overshoot; convection can add ~25°F. Note swings and uniformity across different rack positions.
- Record date, set temp, averaged temperature, probe position, and any adjustments. Retest monthly with regular use or after self-clean.
Oven Temp Variance Chart
How accurate is your toaster oven really? You’ll use an oven variance chart to spot temp drift, compare models, and decide whether to recalibrate or adjust recipes. Readings show common 10–20°F swings. Extremes exceed 50°F and need repair.
Log averaged temps every 15 minutes across tests to reveal cycling and uniformity issues.
| Metric | Typical Result |
|---|---|
| Avg variation | 10–20°F (common) |
| Overshoot risk | Convection +25°F |
| Uniformity | |
| Failure threshold | >50°F variance |
Use the chart to set correction rules: shorten time for +10–20°F, subtract 25°F for convection, and seek service if variance tops 50°F.
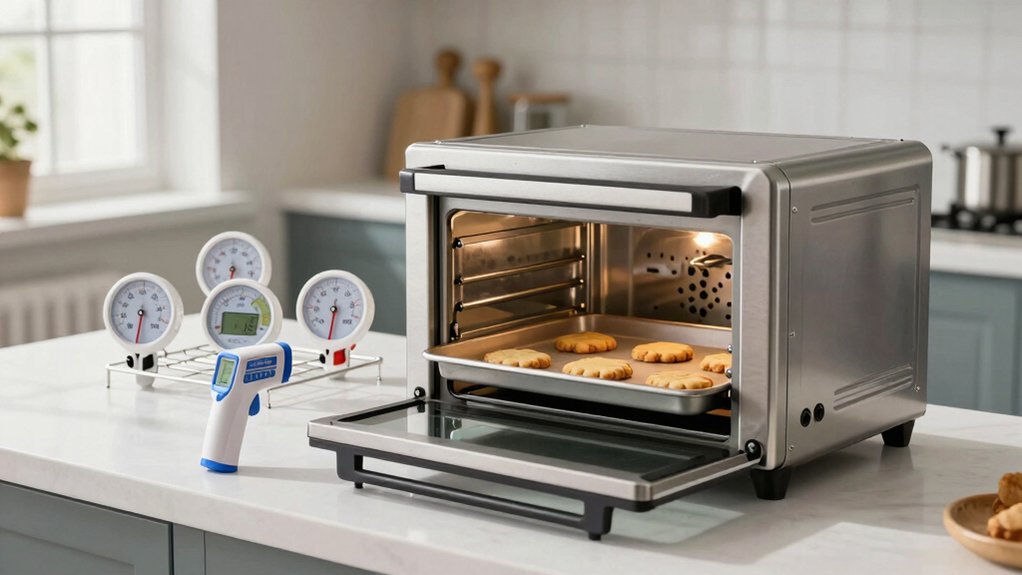
Thermometer Placement Checklist
Where should you put the thermometer for the most reliable reading? Place it to measure true oven conditions, not radiant heat from walls or trays. Prioritize consistent thermometer placement and clear ambient airflow so readings reflect cooking reality.
- Center rack, middle of oven: suspend or clip the probe so it is surrounded by air, not touching metal.
- Away from walls and heating elements: keep at least 2 to 3 inches clearance to avoid direct radiant bias.
- Repeatable spot near food level: mark a position you can reproduce for comparison tests.
You will check the thermometer placement each trial. Confirm ambient airflow is not blocked by pans, and log readings methodically. Consistency in placement yields comparable averages and shows true temperature behavior.
Calibration Frequency and Method
You should calibrate whenever readings fall outside the acceptable ±25°F range, after self-clean cycles, or whenever cooking results change. Use simple tools: a reliable oven probe or dial thermometer and a small screwdriver to make adjustments. Follow a clear step-by-step test, adjust, and retest routine.
Record the date, set temperature, averaged reading, adjustment made, and expected next check interval based on usage. Use monthly for heavy use and quarterly for typical home use.
When To Calibrate
When should you recalibrate your toaster oven? Calibrate after purchase, after any self-cleaning cycle, and whenever you notice consistent deviations beyond ±25°F.
Test at least quarterly if you use the oven frequently; otherwise test twice a year to catch oven aging effects. Recheck after moving the unit, replacing parts, or experiencing power surges.
If your tests show wide cycling or inconsistent readings, calibrate immediately: these are common calibration pitfalls that compound over time. Use the step-by-step testing routine, adjust the dial incrementally, then retest at multiple setpoints (300°F, 400°F, 450°F).
Keep a simple log of dates, set temperatures, and averages so you can spot trends and schedule recalibration proactively.
Simple Calibration Tools
After you’ve logged a few test runs and noticed a pattern in deviations, pick a small set of repeatable tools and a schedule to keep accuracy in check. Use one reliable oven-safe dial thermometer and a digital probe with an air probe clip; those cover continuous air readings and spot checks.
Calibrate your probe against an ice bath before testing to avoid false flags. Test monthly under typical cooking temperatures and after events that stress the oven, such as self-clean cycles or moves. Keep a simple log: date, set temp, averaged reading, adjustment made.
Don’t fall for calibration myths that promise perfection; aim for consistency within manufacturer tolerances. Always follow manufacturer guidance and basic DIY safety when accessing knobs or controls.
Step‑By‑Step Procedure
How often should you check and adjust your toaster oven’s calibration to keep temperatures reliable? You should test periodically: establish a baseline, then retest on a set schedule and after events that might shift calibration.
Start by preheating to a target temperature. Place a certified oven thermometer at center rack and record readings every 5–10 minutes for 20–30 minutes. Average the readings, compare to setpoint, and note cycling behavior. If deviation exceeds your acceptable limit, adjust the dial per the manual and repeat the test until readings fall within range.
Document dates and results so trends are visible. Don’t let unrelated topic notes or a random tangent distract you during testing; stay focused and repeatable.
Frequency By Usage
You’ve got a baseline and a record of past tests. Now set a calibration schedule based on how you use the oven. If you use the toaster oven daily for precise baking, test monthly. Heavy weekly use calls for biweekly checks. For occasional or toast-only use, quarterly testing is usually sufficient.
Tie tests to events: after a self-clean, relocation, or noticeable cooking shifts. Define a testing cadence: same temperature, same rack position, same duration; so results are comparable. Log when you test and what prompted it without repeating calibration-result details here. If you adjust the dial, re-test sooner to confirm.
Keep the plan simple, consistent, and aligned with your usage frequency to catch drift before it affects cooking.
Recording Calibration Results
When should you record calibration results, and what details matter most? You should log results after each calibration, after any self-cleaning cycle, and after noticeable performance changes. Record date, set temperature, averaged measured temperature, number of readings, probe position, and ambient conditions.
Note adjustments made and direction (clockwise/counterclockwise) plus final verification readings. Establish a simple schedule: monthly if you use the oven daily, quarterly for occasional use, and immediately after repairs.
Keep a single spreadsheet or notebook entry per session so trends are visible. Don’t fall for calibration myths or oven myths that a one-time check suffices; drift happens. Review logs quarterly to decide whether professional calibration is warranted or further manual tweaking is needed.
Frequently Asked Questions
Can I Test Accuracy Without Buying a New Thermometer?
Yes, you can test without buying a new thermometer. Use thermometer alternatives like a digital probe from another oven, an instant-read used for spot checks, or even an oven-safe candy thermometer you already own.
Employ two word discussion ideas: “stability check” and “positioning test.” Preheat thoroughly. Place the probe mid-rack, record readings every 5–10 minutes, average them, and compare to set temperature to judge accuracy.
How Do Convection Settings Affect Probe Readings?
Convection effects speed air movement and can make probe readings more stable but slightly lower than still-air setpoints. You’ll see quicker settling and smaller fluctuations.
You should compensate by checking probe calibration under convection and conventional modes; average several readings over 20–30 minutes. If the probe reads consistently low or high beyond ±25°F, recalibrate or repeat tests at multiple temps. Record results methodically for reliable adjustments and documentation.
Will Toaster Oven Racks Warp From Repeated Tests?
Yes, toaster oven racks can warp from repeated tests if you subject them to frequent high heat cycles or uneven loading. You should rotate racks, avoid overloading with heavy probes or cookware, and let the oven cool between runs.
Use oven-safe clips for probes to reduce contact stress and spread tests across different rack positions. If you notice bending or warping, replace the rack to maintain accurate, consistent test conditions.
Can Baking Sheets Alter the Oven’s Internal Temperature?
Yes, baking sheets can alter the oven’s internal temperature by blocking airflow and absorbing or radiating heat. Place them on oven racks and you’ll change circulation patterns. This can create hot or cool spots and affect probe readings.
Use thin, low-profile sheets for minimal disruption. Position the thermometer on the middle rack away from sheet edges. Repeat tests with and without sheets to quantify the temperature impact before calibrating or cooking.
Is Professional Recalibration Worth the Cost?
Yes, professional recalibration can be worth the cost if you need reliable, precise temperatures and your oven shows consistent deviations beyond ±25°F or you lack time or tools.
Do a cost comparison: weigh service fees against replacing the unit or buying high-quality thermometers and spending hours calibrating yourself. If you bake commercially or regularly need precision, pay for professional recalibration.
Otherwise, DIY testing and manual adjustment usually suffice.
Conclusion
You’ve now got the tools and steps to keep your toaster oven honest. Check temperatures with a reliable probe or oven thermometer, and place it where you cook. Log readings on your chart.
Calibrate when variance exceeds a few degrees or every few months based on use. Use the simple adjustment or service steps outlined. Consistent checks and brief records ensure even baking, predictable results, and fewer ruined batches. You can cook with confidence.