Pressure Cooker Minimum Liquid Requirement Explained
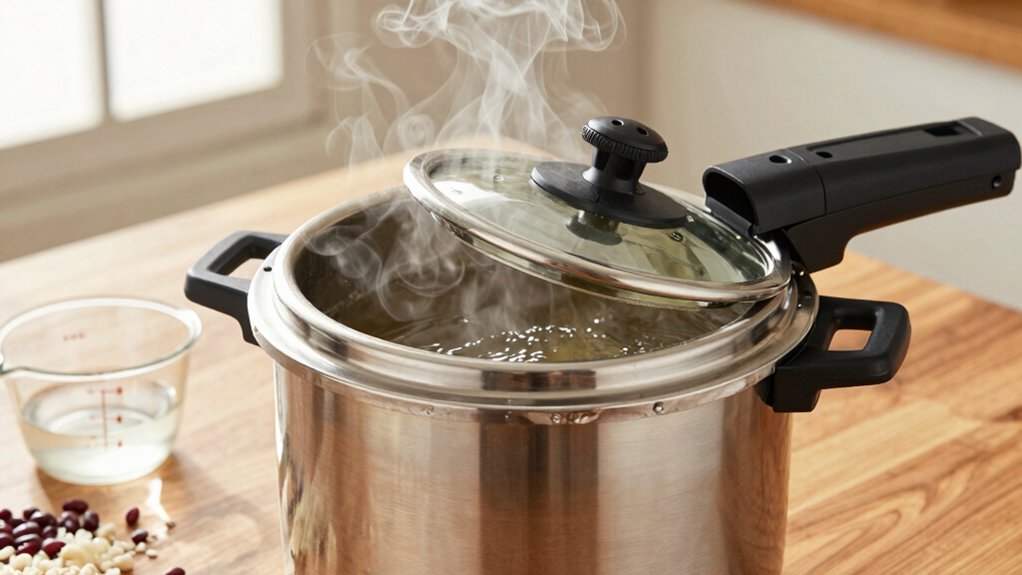
You need a minimum of thin liquid to build steam and bring a pressure cooker to pressure. The amount varies by model and food: about 1 cup for a 3-qt unit, 1.5 cups for a 6-qt, and roughly 2–2.5 cups for 8–10-qt cookers. Thicker sauces or dense foods need extra thin liquid.
Use at least the manufacturer’s stated minimum to avoid burn or failed pressurization. Check sealing rings and follow model guidance for best results if you want more details.
Quick Overview
- Most electric pressure cookers need a minimum of 1–2.5 cups of liquid depending on size: 3 qt ≈1 cup, 6 qt ≈1.5 cups, 8–10 qt ≈2–2.5 cups.
- Liquid must be thin and watery (water, broth) because thicker sauces won’t generate sufficient steam to pressurize. Using less-than-minimum liquid risks burn errors, failure to build pressure, or uneven cooking.
- Vegetables, soaked beans, and some grains often require only ½–¾ cup additional liquid; however, follow your model’s manual.
- Always check your cooker’s fill and minimum-liquid lines. Avoid exceeding the MAX fill line to ensure safe pressurization.
Minimum Liquid by Cooker Model
Different pressure-cooker models need different minimum liquids to build steam and avoid burn notices. Therefore, follow model-specific guidelines rather than a one-size-fits-all rule. You’ll use roughly 1 cup (250–300 mL) as a baseline for many electric and stovetop units. However, Instant Pots and larger stovetop pots need stepped amounts to meet seeping thresholds and avoid scorch.
| Model | Typical minimum |
|---|---|
| 3 Qt Instant Pot | 1 cup (250 mL) |
| 6 Qt Instant Pot | 1.5 cups (375 mL) |
| 8–10 Qt Instant Pots | 2–2.5 cups (500–625 mL) |
| Stovetop general | 1 cup (0.24 L) or 250–300 mL |
Adjust for thick sauces by adding thin liquid. Also, for vegetables or soaked beans, which often need less than baseline, be sure to make the necessary adjustments.
Electric Instant Pot Minimums
How much liquid does your Instant Pot really need to pressurize reliably? You should follow Minimum Liquid guidance by Cooker Model: 3 Qt = 1 cup, 6 Qt = 1.5 cups, 8 Qt = 2 cups, 10 Qt = 2.5 cups. Use watery liquids (water, broth) to generate steam; thicker sauces need extra thin liquid.
For most vegetables, 1/2–1 cup suffices. Beans and grains often cook with 1/2–3/4 cup after soaking and draining.
Never exceed the pot’s MAX fill line; expanding foods stay under 1/2 line. Less-than-minimum risks a burn notice or failed pressurization.
Older manuals said 2 cups; follow current Cooker Model specifics for efficiency. Stick to these evidence-based amounts for safe, reliable pressurizing.
Sealing Ring Maintenance Tips
Check the sealing ring regularly for cracks, stretching, or sticky residue so it forms a reliable seal during low-liquid cooks.
Clean it with warm water and mild detergent. Keep it dry and stored in a cool place to prevent odors and deformation.
Do not expose it to strong smells that can transfer into food. Replace the ring at least once a year or sooner if you see damage or persistent odors.
Inspect Ring Regularly
Why inspect the sealing ring regularly? You should inspect the ring before each heavy use to spot cracks, stretching, or food odors that compromise seal integrity. A compromised ring can cause steam leaks, longer cook times, and burn notices. Early detection prevents failed pressure cycles.
Run a quick visual and tactile check: Look for tears, flat spots, or stiffness. Press around the circumference to feel for unevenness. Keep a simple replacement scheduling log; note installation date and heavy-use cycles. Many manufacturers advise replacing yearly with frequent use.
If you notice deformation, persistent odor, or failure to hold pressure, replace immediately. Regular inspection is a low-effort, evidence-based step that protects cooking performance and safety without waiting for clear failure.
Clean With Mild Detergent
Want the sealing ring to keep a tight, odor-free seal? You should remove it after cooking and wash it with warm water and a mild cleanser. This removes food residue that traps smells and impairs sealing. Use a soft cloth or sponge and a gentle, non-abrasive clean detergent; avoid scouring pads or strong chemicals that can warp or discolor the ring.
Rinse thoroughly, dry with a lint-free towel, and let the ring air-dry completely before reassembling. Inspect the ring for cracks or stretching while it’s off; small tears mean replacement. Regular, evidence-based cleaning preserves elasticity and prevents pressure loss during cycles.
Do this after particularly aromatic meals to maintain performance and extend the ring’s service life.
Avoid Strong Odors
How do you keep your sealing ring from soaking up strong food odors? Rinse the ring promptly after cooking and wash with mild detergent. Evidence shows oils and volatile compounds cling if left to dry. For stubborn smells, soak briefly in a baking-soda solution (1 tbsp per cup warm water) or wipe with diluted white vinegar, then rinse.
Use venting techniques: natural release for a few minutes before quick-release to reduce scent forcefully driven into the ring. Rotate rings between sweet and savory cooks, or buy a spare silicone ring and designate one for aromatic dishes (garlic, curry).
Inspect the ring for staining or warping. Replace every 12–18 months or sooner if odors persist. These steps help you avoid odors without damaging the unit.
Store Dry And Cool
Looking for a simple way to prolong your sealing ring’s life? Store dry, cool and ventilated when you’re not using the cooker. Moisture and heat degrade silicone over time, so wipe the ring dry after washing and let it air for a few minutes before storing.
Keep it away from direct sunlight and heat sources. A cool cupboard reduces hardening and odor absorption.
When you remove the ring for cleaning or swapping, follow the manufacturer’s instructions. Reading labels on replacement rings and packaging tells you compatible materials and temperature limits. If you’re storing an extra ring, place it in a breathable bag or box; store it away from strong-smelling foods and cleaners.
Regularly inspect the ring for cracks or distortion before each use.
Replace Annually Or Sooner
When should you replace your sealing ring? Replace it about once a year or sooner if you notice cracks, stretching, odors, or loss of elasticity. You should inspect the ring monthly and after cooking acidic or oily foods that can degrade silicone faster.
Evidence shows worn rings compromise sealing; they increase failure-to-pressurize incidents and can affect minimum-liquid behavior by letting steam escape. Keep a spare on hand and swap rings between uses to reduce flavor transfer. Store spares dry and cool.
Two word reminders like “check monthly” and scheduled “replace annually” help. These discussion topics keep maintenance simple: inspect, clean with mild soap, air-dry, and replace at first sign of damage to preserve safety and performance.
Frequently Asked Questions
Can You Use Stock Cubes Instead of Liquid for Pressure Cooking?
You can’t use stock cubes alone as a liquid substitution; they need dissolving in water or broth. Stock cubes add flavor, but they won’t generate the steam pressure by themselves.
Dissolve cubes in the required minimum watery liquid (e.g., 1 cup for many Instant Pots) or add extra thin liquid if using thicker sauces. For vegetables or beans, follow reduced-liquid guidelines, but always include enough broth or water to reach the cooker’s minimum.
Will Foamy Foods Trigger a Burn Notice More Often?
Yes, foaminess in pressure cookers can trigger burn notices more often. Foam rises and can block the float valve or heating sensor. This causes the cooker to sense scorching or insufficient steam. You’ll reduce risk by using enough thin liquid, adding anti-foaming agents (oil or a pat of butter), skimming foam before sealing, and avoiding overfilling.
For beans, grains, or starchy foods, pause to release foam and check seals during cooking.
How Does Altitude Affect Minimum Liquid Volumes?
You’ll need altitude adjustments because water boils at lower temperatures up high. You’ll often increase liquid minimums slightly to ensure enough steam and time for pressure buildup.
Add about 1/4 cup (60 mL) extra liquid per 1,000–2,000 feet above sea level. Consider longer cook times. Monitor for burn notices; if pressure’s slow or food’s dry, raise liquid minimums further and reduce high‑starch quantities.
Can You Reduce Liquid for Sous-Vide in the Cooker?
Yes, you can reduce liquid for sous-vide in the cooker, but you’ll need enough to circulate heat and maintain mesophilic safety. Use a shallow water bath with precise timing precision and a reliable thermometer or immersion circulator.
Keep bags off the bottom, monitor temperature closely, and avoid dropping below the cooker’s minimum. This will help you avoid risking uneven heating. That balance preserves food safety and delivers consistent, tender results.
Is Broth Concentration Important for Safety and Flavor?
Yes, broth concentration matters for both safety and flavor. You’ll need enough thin liquid to generate steam. Concentrated, salty broths can scorch or trigger a burn notice if you use too little. Dilute very salty stocks to avoid over-seasoning and ensure proper pressurization.
For taste, concentrated broth boosts flavor; however, dilute it if pressure-cooking small volumes. Balance concentration with the minimum liquid requirements for safety considerations and even cooking.
Conclusion
You now know that minimum liquid varies by cooker and model. Most stovetop units need about 1 cup; many electric Instant Pots require 1–1.5 cups. Always check your manual and follow manufacturer minimums to guarantee proper pressure, prevent scorch, and avoid safety issues.
Maintain the sealing ring by inspecting it, washing with mild detergent, avoiding strong odors, storing it dry and cool, and replacing it annually or sooner if damaged. Practical care keeps your cooker safe and reliable.