Indoor Grill Smoke and Splatter Control Tips
You can cut indoor-grill smoke and splatter by choosing the right equipment and habits: Prefer downdraft or pellet units over side-chimney designs. Empty and wipe the grease tray after heavy use and deep-clean weekly. Replace warped splash guards.
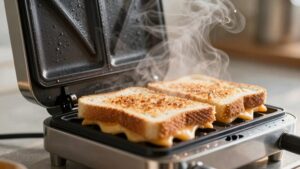
For pan searing, use refined high-smoke-point oils (avocado, grapeseed). Preheat until a water droplet sizzles, add a thin oil coat, and lower heat at the first wisps of smoke. Follow these steps and you’ll get more tips ahead.
Quick Overview
- Use a downdraft pellet or electric grill with cool-air/drip-pan design to minimize indoor smoke.
- Preheat the pan until a water drop sizzles; then add a thin coat of high-smoke-point oil.
- Choose refined avocado, grapeseed, or light olive oil. Avoid extra-virgin and unrefined oils.
- Empty and wipe the grease tray after heavy use. Soak weekly and inspect monthly for corrosion.
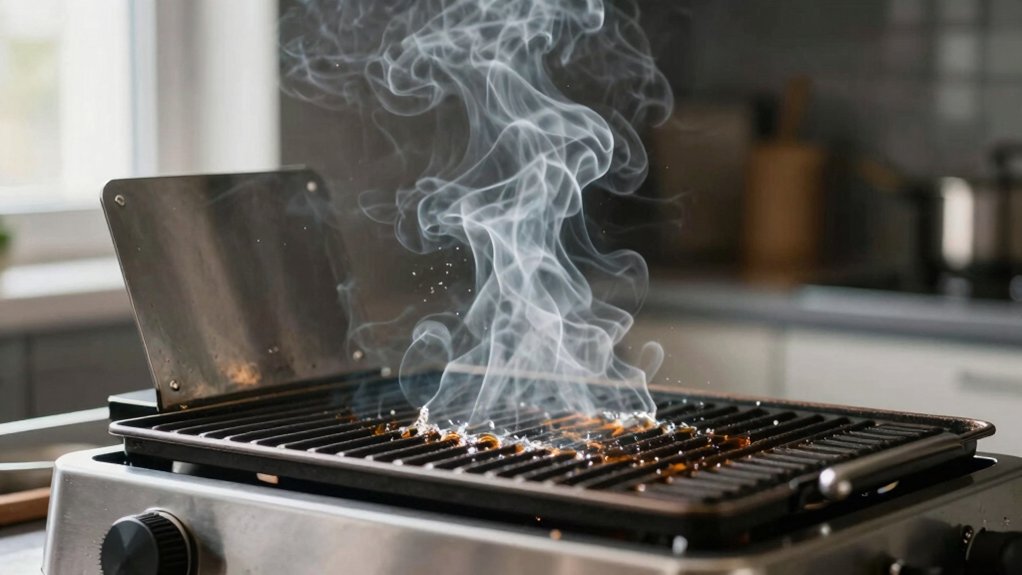
- If blue smoke appears, immediately reduce heat. Increase ventilation and wipe spilled fats before they bake on.
Smoke Output Comparison Chart
Several indoor grill types show clear differences in smoke output, so choose based on features and cooking needs. You will prioritize models with active smoke control: downdraft exhaust on pellet units (Ironwood, Timberline) outperforms side chimneys, keeping smoke low during low-temp smoking.
Electric grills with drip pans, cool-air zones, or infrared reflectors (BELLA, Ninja, Philips) deliver very low smoke for indoor use. Match heat range and fat management to your menu to avoid peaks at 165–225°F.
| Grill Type | Key Feature | Typical Smoke Level |
|---|---|---|
| Pellet (downdraft) | Downdraft exhaust | Low |
| Pellet (side) | Side chimney | Medium-High |
| Electric (cool-air) | Drip pan/cyclonic | Very Low |
| Infrared | Reflectors | Very Low |
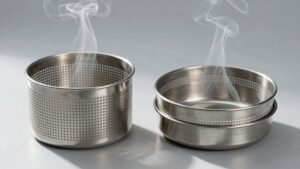
Grease Tray Cleaning Frequency
How often should you clean the grease tray to keep smoke and flare-ups down? You should empty and wipe the grease tray after every heavy use; do a deeper clean weekly. Regular removal prevents fats from baking on, which preserves grease tray durability and reduces smoke.
Inspect the tray and splash guard for wear. A compromised splash guard effectiveness increases splatter and grease reaching heating elements. Follow these practical steps:
- After each session: discard oils, wipe with paper towel, and rinse.
- Weekly: soak in warm, soapy water, scrub residue, and dry thoroughly.
- Monthly or as needed: check for corrosion or warping to assess grease tray durability and replace parts to maintain optimal smoke control.
Stay consistent to minimize smoke and flare-ups.
Pan Searing Smoke Points
You should know the smoke points of common oils so you don’t trigger excess smoke when searing. Pick stable, high-smoke-point fats (avocado, refined canola, grapeseed) and use only a moderate amount in a properly preheated pan.
Then monitor and control pan temperature; lowering heat at the first sign of smoking prevents splatter and lingering odors.
Know Oil Smoke Points
Want to limit smoke when pan-searing? Choose oils with smoke points above your cooking temperature to prevent visible oil smoke and bitter flavors. Check labels: refined avocado, grapeseed, and light olive oils tolerate higher heat than unrefined or extra-virgin varieties.
Match oil selection to pan compatibility: stainless steel and cast iron handle higher heat; nonstick pans require lower temperatures and lower smoke-point oils to protect coatings. Preheat the pan, then add a measured amount of oil. Overheated fat produces more smoke than excess quantity.
If oil begins to shimmer but not smoke, you’re at peak searing temperature. Quickly add food, sear, then reduce heat as needed. Regularly clean pans to remove polymerized residues that lower effective smoke thresholds.
Choose Stable Fats
When pan searing, pick stable fats with smoke points above your target temperature so they won’t break down, taste bitter, or produce excess smoke. Refined avocado, grapeseed, and light (refined) olive oil are reliable choices for high-heat searing. Butter and extra-virgin olive oil are better reserved for lower-temperature finishes.
Choose oils known for consistent oil smoke points and oxidative stability to limit airborne particulates and off-flavors. Use just enough fat to coat the pan; excess promotes spatter and smoke. For lean proteins or quick sears, refined oils handle brief high heat without degrading. If you want butter flavor, finish with a knob of butter off direct heat.
Store oils away from light and heat to preserve stability and predictable smoke behavior.
Preheat Pan Properly
How hot should the pan be before you add oil or meat? You want it hot enough that a drop of water sizzles and evaporates immediately; this is typically reached after 2–4 minutes on medium-high heat. Proper preheating benefits include faster searing, reduced sticking, and less smoke from fats that smear and burn. Measure by touch (hover your hand a few inches above) or use an infrared thermometer for precision.
Add oil only once the pan’s at temperature to keep oil below its smoke point. Then add meat so juices don’t cool the surface. Keep the pan preheat duration consistent for repeatable results. Too short and you’ll stick; too long and you’ll risk excess smoke from the pan itself.
Control Pan Temperature
You’ve already learned that proper preheating minimizes sticking and early smoke. Now focus on controlling pan temperature to keep fats below their smoke points during searing. Monitor pan temperature with an infrared thermometer or by using controlled burner settings. Aim for a hot surface that sears without pushing fats into visible oil smoke.
Choose oils with appropriate smoke points for the target temperature and add oil just before contact to limit time at high heat. If you see blue smoke or persistent wisps, reduce heat immediately and ventilate. Maintain consistent heat rather than blasting to maximum; that reduces repeated overshoots that generate smoke from drippings.
Precise temperature control preserves flavor, reduces indoor smoke, and minimizes splatter-related cleanup.
Use Moderate Oil Amount
A thin, even coating of a high-smoke-point oil like avocado or refined canola is all you need to sear effectively while keeping visible smoke low. Use just enough to prevent sticking and promote the Maillard reaction, and add it immediately before the food hits the hot pan to minimize the time the oil spends at peak temperature.
Use a moderate oil volume; too little causes sticking, and too much increases splatter and smoke as excess fat heats. Focus on oil distribution: wipe or brush a thin layer across the surface, or use a measured spray for consistency. Combine this with trimmed proteins and controlled heat. That targeted approach reduces volatile emissions, limits flare-ups in drip trays, and preserves flavor without sacrificing sear quality.
Frequently Asked Questions
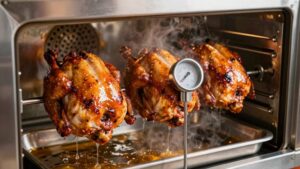
Can I Use Wood Chips Indoors Safely With My Electric Grill?
Yes, you can use wood chips indoors with caution. For wood chips indoors on an electric grill, use smoker boxes or foil pouches with soaked chips to limit flare-ups and smoke. Ensure your electric grill safety by running exhaust fans, keeping drip trays clean, and using low-to-medium heat.
Test small amounts first and monitor smoke. Never leave the grill unattended to prevent excess smoke or fire risk.
How Do I Reduce Splatter When Cooking Marinades?
Trim excess fat and pat foods dry before grilling to reduce splatter; wetter surfaces cause flare-ups. Use marinade techniques that limit free oil: opt for less oil, thicker marinades, or whisk in emulsifiers (mustard) so liquids cling to food.
Preheat and use medium heat so juices render slowly. Place a clean drip tray beneath and empty it often. You’ll get less grease splatter and more consistent, safer cooking results.
Will Aerosol Smoke Alarms Trigger When I Grill Indoors?
Yes, aerosol alarms can trigger when you grill indoors if smoke or fine particles reach them. Indoor grilling produces aerosols and particulates that smoke detectors detect, especially ionization or photoelectric types.
To reduce false alarms, use exhaust fans, keep drip trays clean, run built-in ventilation, and position grills away from detectors. Consider using lower-smoke techniques and a smoke-controlled grill model to minimize particle production and alarm activation.
Are There Non‑Toxic Cleaners for Grease Tray Buildup?
Yes, you can use non toxic cleansers to remove grease tray buildup. Mix baking soda and hot water into a paste; apply, let sit 15–30 minutes, then scrub with a nonabrasive brush.
White vinegar or lemon juice helps dissolve residue and deodorize. Rinse thoroughly. For stubborn deposits, boil a water-vinegar solution in the tray (if heat-safe) to loosen grease.
These methods are effective, inexpensive, and safe when you rinse well.
Can I Retrofit a Countertop Grill With an Extraction Fan?
Yes, you can retrofit a countertop grill with an extraction fan, but check retrofit options and electrical clearance first. Measure space and confirm appliance vents. Choose a compact inline or under-cabinet extractor rated for grease capture.
Ensure wiring meets local codes and the fan’s electrical clearance recommendations; you may need a licensed electrician. Install a grease filter and route exhaust outside or to a recirculating charcoal filter if outside venting isn’t possible.
Conclusion
You can cut indoor grill smoke and splatter by using the right oil, preheating properly, and keeping temperatures below smoke points. Empty and clean the grease tray often to prevent flare-ups. Sear with moderate oil to limit airborne particulates.
Choose stable fats (e.g., refined avocado, ghee) and control heat with an accurate thermometer. These evidence-based, practical steps reduce smoke, scent, and soot while preserving flavor and extending equipment life.