Electric Skillet Temperature Settings Explained
Your electric skillet’s dial maps roughly to real degrees: Low/Med/High ≈200/300/400°F, with models ranging 175–430°F. So trust oil shimmer, steady bubbles, and sizzle as cues.
Preheat with a shallow oil layer; probe the center for true temperature. Tweak the dial one click at a time until the probe matches within ±10–15°F. Check low, medium, and high settings after a full warm-up cycle. You’ll find how to fine-tune it for reliable cooking.
Quick Overview
- Most electric skillets map Low/Med/High roughly to 200°F, 300°F, and 400°F; however, exact degrees vary by model.
- Use a probe thermometer placed at the pan center to verify skillet temperature before cooking. Allow 10–15 minutes for the skillet to preheat and stabilize at the target setting before measuring.
- If the dial and probe disagree, adjust the dial one click up or down and re-test after stabilization. Recalibrate when deviations exceed ±10–15°F; testing at low, medium, and high settings is essential.
Temperature Range Comparison
Wondering which skillet will hit the temps you need? You’ll compare temperature range and heat distribution to pick one that matches your cooking. Zojirushi gives the widest span (175–430°F) and very even heat distribution. De’Longhi and Elite cover 200–400°F but tend to run hot; so expect center spikes.
Copper Chef and Hamilton Beach offer very even spread. GreenLife and Nesco heat fast with low variance. Presto runs high (~+90°F) initially. Choose based on whether you need fast preheat, broad range, or tight distribution.
| Model | Nominal Range | Strength |
|---|---|---|
| Zojirushi | 175–430°F | Best range, even distribution |
| De’Longhi | 200–400°F | Quick, but center hotter |
Dial Markings to Degrees
How do the numbers or words on your skillet’s dial translate to actual heat? You’ll find dial markings aren’t universal, but they do follow practical degrees mapping you can sense: Low feels gently warm, medium holds steady, and high jumps to loud sizzle. Look for manufacturer notes or a simple chart to match words or numbers to Fahrenheit.
Some dials list Low/Med/High aligning roughly to 200°F, 300°F, and 400°F. Numeric ranges (0–5) usually map across 150°F–400°F; each step raises temperature noticeably. Digital readouts or indicator lights confirm target degrees mapping and steady state.
Trust touch and sound: a shimmering oil, steady bubble, or vigorous roar tell you the real heat.
Calibration Procedure Steps
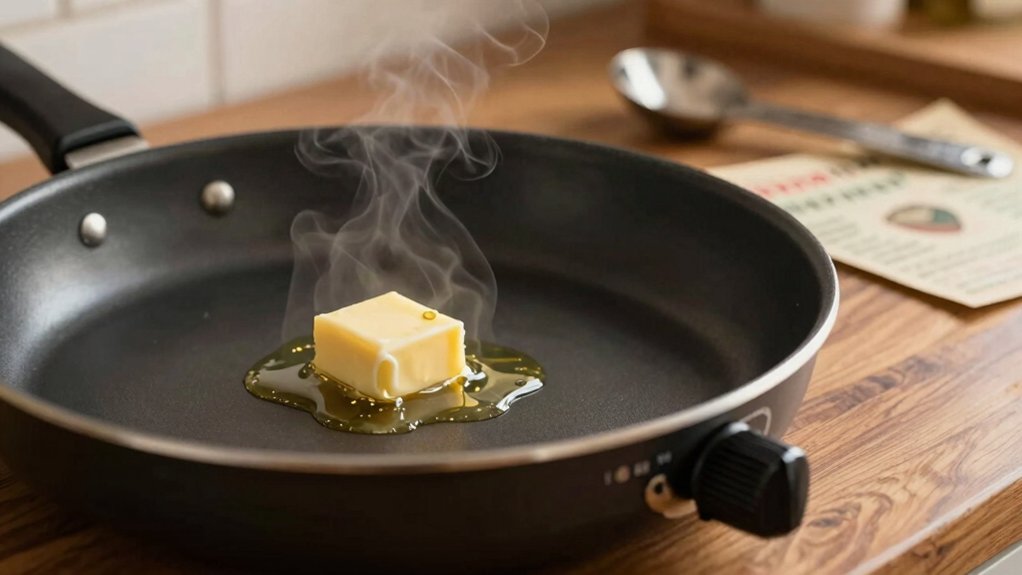
Start by wiping the skillet clean, seating it on a flat surface, and filling the pan with a shallow layer of oil or water so the thermometer senses the cooking surface temperature. Set an accurate probe thermometer against the pan center; set the dial to your target, and run a full warm-up cycle until the indicator light goes off.
If the readout and dial disagree, make small dial adjustments and repeat the warm-up. Then, record the final offset so you can trust the skillet’s settings.
Preparing The Skillet
Before you calibrate, clean and dry the skillet thoroughly so you can rely on accurate temperature readings. Any residue or moisture will skew results and create steam that masks true surface heat. Wipe the pan until it looks and feels dry. Then let it air a minute so no chill remains.
Place the skillet on a stable surface and attach the control. Follow preheating guidelines: bring it up slowly to your target mark to avoid thermal shock. Run the heat for a steady period so the plate and thermostat reach heat synchronization.
Note visual cues—steady indicator light, even shimmer across the cooking surface—and listen for minimal electrical hum. Record starting conditions before you move to thermometer placement.
Setting A Thermometer
Want to ensure your skillet’s readout matches real heat? You’ll verify actual surface temperature with a probe thermometer. Preheat the skillet to a target (for example, 300°F); let it stabilize for 10–15 minutes. Then open the lid and insert the probe tip so it contacts the cooking surface without touching the heating element.
Good thermometer placement is centered in the cooking area, not at the edge. Record the displayed temperature and the probe reading. If they differ, note the offset.
Repeat at low and high settings to check for calibration drift across the range. Do tests dry, without food, and let the skillet cool between checks. Keep a simple log so you can track gradual calibration drift over time.
Adjusting Temperature Dial
How do you fine-tune your skillet so the dial’s reading matches the actual surface temperature? Place a calibrated probe against the center of the empty, preheated surface. Feel the metal warm under your fingertips as the probe stabilizes. Note the skillet readout; then slowly turn the dial a single click toward higher or lower until the probe and display align.
Let the skillet rest between adjustments so heat evens out. Quick twists create false highs and adjust dial fatigue. Repeat until consistent across three readings. If the dial feels loose or jumps, check the mounting and dial grounding. Secure screws and clean contacts to prevent electrical noise.
Record the final dial position with corresponding Fahrenheit for future use.
Running Warm-Up Cycle
Ready to calibrate. You’ll run a warm-up cycle that brings the skillet to a stable baseline temperature before fine adjustments. Start with an empty, dry pan and set the dial to the mid-range (about medium/300°F) so the element heats evenly. You’ll feel steady radiating warmth and hear a faint hum as the thermostat engages.
Let it run for 10–15 minutes or until the indicator light shows the set point is reached. This running warm-up reduces hotspots and stabilizes internal sensors. Use an instant-read thermometer at the center to record the baseline.
Note the reading, cool the skillet, then repeat at low and high settings if your calibration procedures require multiple points.
Verifying Calibration Accuracy
Where will you place your thermometer and how will you record readings? Place a probe at the skillet center about 1/4 inch above the surface, or suspend it in a shallow layer of oil to mimic cooking.
Turn the skillet to each standard setting (low, medium, high); let it stabilize for 10–15 minutes, and note temperature every minute for five minutes. Write readings in a table or timestamped list so you spot trends.
If temperatures slowly drift upward or downward, you’re seeing calibration drift. Repeat the test after a cool-down and compare results. Inconsistent readings mean the control or sensor may be faulty.
If deviations exceed ±10–15°F from expected values, recalibrate per the manual or contact support for repair.
Frequently Asked Questions
Can I Use an Electric Skillet on Induction Stovetops?
No, you can’t use most electric skillets on induction stovetops because they’re not induction compatible. Their built-in heating element needs its own power; so it won’t work on an induction cooktop.
You can, however, use induction-compatible cookware on induction burners for better temperature accuracy. If you want skillet-like results on induction, choose a heavy, flat, magnetic-bottom pan. You’ll feel rapid, controlled heat and dependable temperature accuracy while cooking.
Do Temperature Settings Vary With Different Skillet Brands?
Yes, temperature settings vary with different skillet brands. You’ll notice brand variation in how quickly the pan heats, how steady the heat holds, and the labels used; some offer numeric Fahrenheit, others simple low/med/high.
Pay attention to temperature consistency: lights, displays, and preheat times tell you when it’s stable. Trust your senses; a steady sizzle, even browning, and minimal flare-ups signal consistent, correct heat.
How Do I Clean Heating Element Housing Safely?
You unplug the skillet and let the heating element housing cool completely before cleaning. Use gentle cleaning methods: wipe with a soft cloth dampened with mild soapy water, avoiding direct water spray or submersion.
For stubborn grime, use a soft brush or cotton swab. Follow safety precautions: never soak the housing; don’t let moisture reach electrical contacts; and ensure everything’s bone-dry before reconnecting.
Store in a dry place.
Can I Store an Electric Skillet With the Cord Wrapped Tightly?
Yes, you can store an electric skillet with the cord wrapped tightly, but don’t cinch it so hard the insulation creases or the plug bends; that risks stored cord safety. Coil the cord loosely, secure with a Velcro strap, and tuck it into the skillet or a side compartment.
Also, note that induction compatibility won’t affect cord care. Store in a cool, dry place so the plating and handles stay odor-free and dust-free.
Are Replacement Thermostat Parts Available for Older Models?
Yes, you can often buy a replacement thermostat for older models. Check the manufacturer’s parts webpage, authorized dealers, or appliance parts stores; you’ll feel relief when you find matching part numbers. Measure the original, note connectors and clips, and inspect the mounting so it fits snugly.
If parts are scarce, search vintage appliance forums or salvage shops. You’ll sometimes find a usable thermostat that restores precise temperature control.
Conclusion
You’ve now got the tools to match dial markings with real temperatures and to fine-tune your skillet so it cooks the way you expect. Calibrate it in a clean, dry skillet, place an accurate thermometer in the center, and adjust the dial through a warm-up cycle until readings match target degrees.
Trust your senses: the skillet should feel evenly hot and stable. Recheck occasionally so your temperature settings stay reliable.