Air Fryer Troubleshooting Not Heating
If your air fryer isn’t heating, first confirm the model’s rated wattage and voltage. Then measure outlet voltage and current under load to rule out supply issues and voltage sag.
Inspect the cord, plug, and terminals for high resistance. Check the heating element for continuity and correct fitment: coil vs dry coil, proper thread, and voltage.
Verify thermostat/sensor connections and any fault/blink codes. Power-cycle per manual and don’t run with service indicators active. Continue below to learn specific tests and fixes.
Quick Overview
- Confirm the rated voltage/wattage on the appliance label and measure outlet voltage under load to verify proper power delivery.
- Check the power cord, plug, and outlet for damage or loose connections causing high resistance or intermittent power.
- Observe any fault/blink codes and perform a 10–15 minute power cycle; document persistent codes for service.
- Inspect the heating element and temperature sensor continuity. Replace the element only with the correct type, thread, and voltage rating.
- Verify airflow and basket switch operation. Stop use and contact authorized service if safety or thermal cutoff codes appear.
Model/Element Heat Specs
Understanding heating specifications lets you match the right element to your air fryer’s design and power system. You’ll inspect element type (coil vs. dry coil), material (304/321/INCOLOY840), and mounting (M16 thread) to confirm compatibility. Don’t confuse unrelated spec notes or treat other features as an irrelevant topic when selecting replacements.
Verify voltage option aligns with your unit; incorrect voltage causes no heat or failure. Check max operating temperature and insulation ratings to ensure safety compliance. Replace only with certified parts (UL/CE/ISO). Positioning at the top affects airflow and convection performance; maintain sealed tube integrity to avoid contamination.
| Item | Spec | Impact |
|---|---|---|
| Material | 304/321/INCOLOY840 | Durability |
| Voltage | 110/220/380V | Compatibility |
| Thread | M16 | Fitment |
Power Rating & Wattage
How much power does your air fryer actually need to reach and sustain cooking temperatures? Check the nameplate for the unit’s power rating and compare listed wattage to expected values for that model or element. Lower-than-rated wattage points to supply or internal faults.
- Confirm rated wattage on the appliance label and in the manual for your model or element to set baseline expectations.
- Measure outlet voltage and current under load; voltage sag reduces effective wattage and heating.
- Inspect power cord, plug, and terminal connections; high resistance lowers delivered wattage and can mimic element failure.
- If measured wattage matches rating but no heat, isolate the heating element and replace per manufacturer specs.
Fault Codes and Blink Patterns
Check the display for common blink codes and refer to the manual to map each pattern to its error code meaning. Try the specified reset procedures: power cycle for 10–15 minutes, model reset button or thermostat toggle. Note which codes clear versus which persist.
If service-required indicators remain after power cycling and resets, stop use and contact authorized service.
Common Blink Codes
Curious what those blinking lights mean? You’ll interpret common blink codes, fault codes and blink patterns as rapid diagnostics. Short rapid flashes (3–5 repeats) usually indicate a minor sensor fault or transient power irregularity; perform a reset procedure and recheck power supply.
Alternating slow/fast blinks often signal thermostat or temperature-sensor failure; don’t run until you inspect the heating element and sensor connections. A steady repeating triple-blink with pause typically marks a safety interlock or basket-detection issue; verify drawer alignment and clean the detection switch.
Continuous long blinks point to control-board or firmware faults; unplug and test outlet, then consult service. Record blink patterns and model number before contacting manufacturer for precise fault-code interpretation and repair steps.
Error Code Meanings
Wondering what those blink patterns and error codes actually tell you? You’ll map blink frequency, LED color, and code display to specific faults: power loss (single slow blink), thermal cutoff (rapid triple blink), fan failure (alternating blinks), and sensor error (steady flash with code).
Treat codes methodically: consult your model’s legend to confirm subtopic relevance; identical patterns can mean different faults across models. Log the sequence, duration, and any audible alerts before repair. Ignore unrelated codes that appear during diagnostics; don’t assume every blink ties to heating failure.
Use the code to prioritize checks: power supply, airflow, sensor continuity, heating element integrity. If a code indicates imminent hazard (thermal cutoff, short), stop use and arrange qualified service.
Reset Procedures
How do you use reset procedures to interpret and respond to fault codes and blink patterns? You first document the displayed code or blink sequence, noting duration and repetition. Cross-reference the code with the manual to identify the suspected model element: control board, thermostat, or sensor.
Perform prescribed reset procedures: unplug the unit for 10–15 minutes, press any model-specific reset button, and cycle power at the appliance switch if present. After reset, restart with new timer and temperature settings to confirm fault clearance. If the same code or blink pattern returns, log the steps taken and escalate to service; replacing the identified model element or sending diagnostics is indicated.
Don’t proceed with repairs until you verify safety and manufacturer guidance.
When To Power Cycle
After documenting the fault code or blink pattern and attempting the prescribed resets, you should power cycle when the code indicates a temporary communication fault, sensor glitch, or control-board timeout that the manual lists as recoverable. Record the exact code and blink timing. Note recent actions (power interruption, cleaning, or movement), then follow model-specific restart steps.
Unplug the unit, wait 10–15 minutes to clear capacitors and internal caches, then restore power: this is the recommended cycle timing for transient faults. If the fault returns immediately, do not continue power cycling; escalate to diagnostics or service.
Use power cycling only for listed recoverable codes. Repeated cycles can mask persistent hardware failures and complicate later troubleshooting.
Service Required Indicators
Why is your air fryer flashing or showing a fault code? You’re seeing service indicators that signal specific failures: power, sensor, thermostat, or fan. Consult the manual to match fault codes and blink patterns to components.
When a code appears, log the code, cycle power, then retest. If the same service indicator returns, isolate subsystems: verify outlet and cord, check basket switch and airflow, and inspect the heating element and sensor connections.
Don’t ignore repeated blink patterns; they often mean component failure rather than user settings. For persistent fault codes after reset, contact authorized service. Provide model, code, and recent actions to speed diagnosis. Avoid DIY repairs on sealed components to prevent further damage or voiding warranty.
Frequently Asked Questions
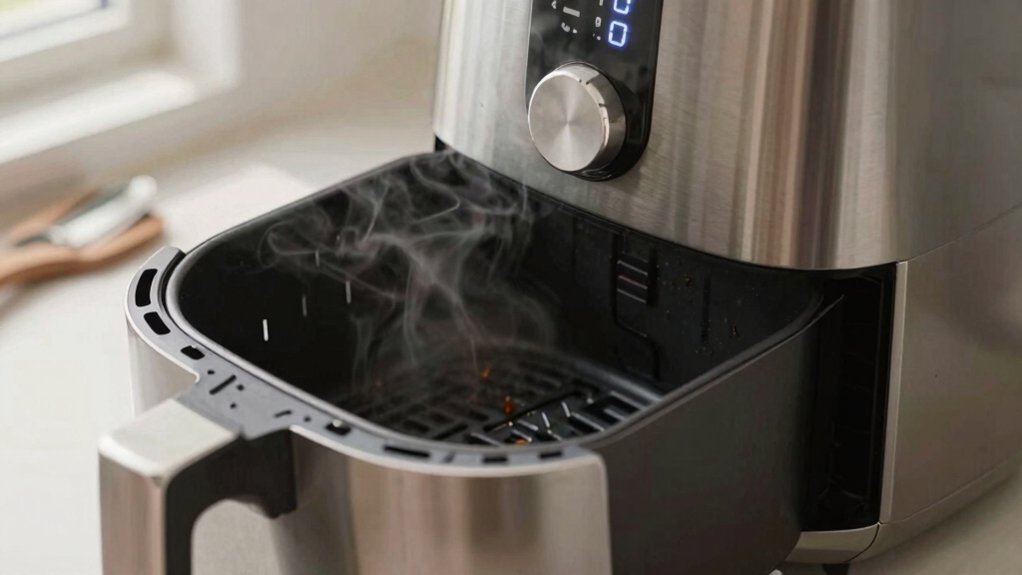
Why Does My Air Fryer Smoke During First Use?
First use smoke happens because manufacturing residues and protective oils burn off, causing smoke. You’ll see smoke causes like leftover coating, packing grease, or small debris in the heating element and vents.
You should run the fryer empty at 400°F for 10–15 minutes, ventilate the area, and clean removable parts with warm soapy water after cooling.
Repeat if smoke persists and inspect the element and vents for debris before cooking.
Can I Use Non-Stick Spray Inside the Basket?
Yes, you can use non stick spray sparingly, but check your basket coating first. Some coatings tolerate light spray; others degrade with repeated aerosol use.
To protect the basket coating, lightly oil food or brush oil onto the surface instead of continuous aerosol spraying. Avoid sprays if the manual prohibits them. Clean residue after every use to prevent buildup.
Replace damaged baskets to maintain airflow, safety switches, and consistent cooking performance.
How Often Should I Deep-Clean the Heating Element?
You should deep-clean the heating element every 1–3 months depending on use. Heavy use means monthly; light use means quarterly. For heating element maintenance, unplug and cool the unit. Remove debris with a soft brush, wipe gently with a damp cloth, and clear grease buildup from coils.
Follow the manufacturer’s deep cleaning schedule and replace elements showing burns, breaks, or residue that won’t clean off to maintain performance and safety.
Will Using Aluminum Foil Affect Cooking Performance?
Yes, foil can affect cooking performance. For foil safety, always avoid covering the heating element or blocking air vents. Secure foil to prevent airflow disruption.
Using foil under food can improve cooking efficiency by reflecting heat and easing cleanup. However, it may cause uneven browning and reduce crisping if it blocks airflow. Don’t line the basket fully; perforate foil or use minimal coverage and test small batches first.
Is It Safe to Run the Air Fryer Unattended Overnight?
No, you shouldn’t run an air fryer unattended overnight. For unattended safety, you’ll reduce fire risk by placing the unit on a stable, heat-resistant surface, keeping vents clear, and avoiding extension cords. Check the plug, cord, and breaker before use; don’t overload the basket.
Use manufacturer-recommended reset and safety features. If you must leave it, set short runs with timers rather than prolonged overnight use to minimize hazards.
Conclusion
You’ve checked the specs, wattage, and blink codes, and followed reset and power-cycle steps. If the air fryer still won’t heat, it’s likely a component fault.
Don’t keep running it; shut power off and label it for service. Contact authorized repair or the manufacturer with the model, power rating, and displayed fault codes.
Technicians can test heating elements, thermostats, and control boards safely. Replace failed parts or the unit per service recommendations.