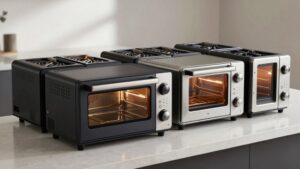
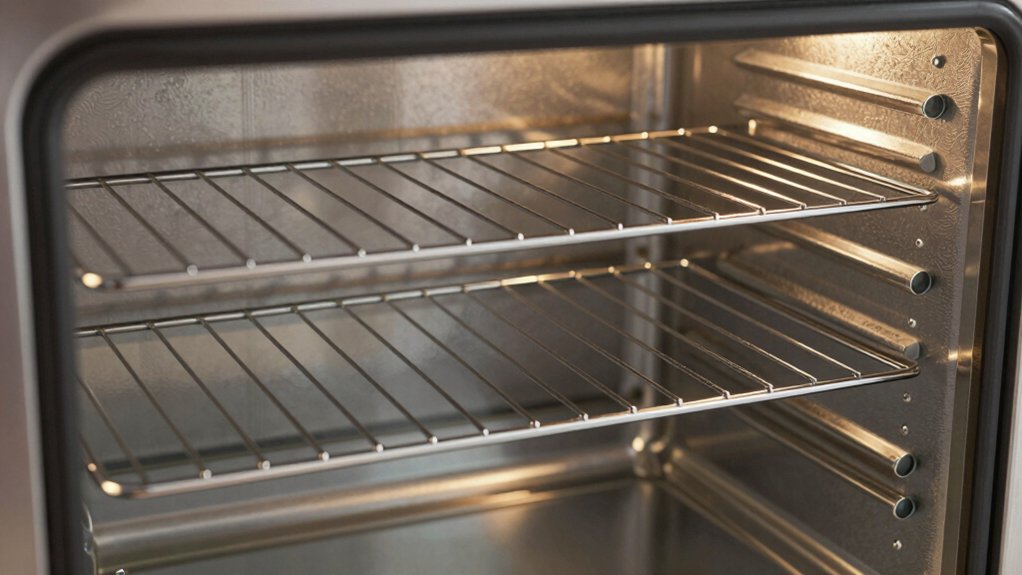
Countertop Oven Rack Positions Guide
Position racks before preheating: Use the middle for even heat on cookies, casseroles and pies. Use the top when you want quick browning or broiling. Use the bottom for a stronger crust on pizza or bread.
For broiler-only work, keep food about 3–6 inches from the element; move thinner cuts closer and thicker cuts farther away.
Convection lowers browning temps by ~25°F and needs space for airflow.
Keep trays and drips safe, and continue if you want detailed placement tips.
Quick Overview
- Use the middle rack for even heat and consistent results with cookies, casseroles, and pies.
- Slide racks into place before preheating to ensure proper airflow and accurate temperatures.
- Place food 3–6 inches from the broiler element for safe, effective browning; adjust for tray height.
- Move the rack closer for fast surface caramelization and farther away for slower, even browning.
- Match rack height to meat thickness: thin cuts 2–3 inches, medium 4–6 inches, thick 6–8 inches or more from the element.
Rack Height vs Temp
Where should you place your rack to get the browning or crispness you want? You’ll use the top for fast browning and the bottom for strong underside crusts. Convection evens things so height matters less.
Do not treat rack height like an irrelevant topic or an unrelated concept; it directly affects proximity to heat and cooking speed. Slide racks in before preheating. Choose the top for toasting or broiling, the bottom for pizzas and crusty bread, and the middle for usual baking. Lower racks speed bottom browning; upper racks speed surface crispness. Reduce 25°F on convection. Space multiple racks evenly for balanced results.
| Rack | Effect | Best for |
|---|---|---|
| Top | Faster surface browning | Broil, toast |
| Middle | Even heat | Cookies, casseroles |
| Bottom | Strong bottom crust | Pizza, bread |
Middle Rack: Even Browning
Want reliably even browning without babysitting your bake? Put the rack in the middle so heat surrounds your pan and oven airflow evens temperatures. The middle rack minimizes hot spots you’d get from top or bottom placement. It’s the default for cookies, casseroles, and pies.
If you’ve got a differing rack layout or numbered slots, choose the one closest to center. Position the rack before preheating and avoid crowding for proper circulation.
- Use the middle for recipes that need uniform color and doneness.
- Check clearance but don’t move toward broiler zones.
- Rotate pans only if recipe notes uneven baking.
- Keep space between pans to preserve oven airflow.
This keeps browning consistent without constant checks.
Broiler-Only Rack Clearances
When you broil, you need to balance maximum distance from the broiler with the minimum safe clearance to control browning without burning. Adjust rack height based on tray size and meat thickness. Thinner cuts and shallow pans go closer for fast sear; thicker cuts need more distance and time.
I’ll cover specific distances, recommended clearances, and how trays and cut thickness change browning in the next sections.
Maximum Distance From Broiler
How close should you place a broiler-only rack to the heating element to get a good sear without burning? You’ll usually set the maximum distance so intense radiant heat sears surface fats quickly while the interior stays tender. Aim for a rack height that keeps food 3–6 inches from the element in countertop broilers. Thinner cuts or quick sears use the closer end; thicker pieces sit farther back.
Check your oven’s labeled positions (A–E or numbered slots) and pick the slot that matches that distance before preheating. Use an instant-read thermometer and watch closely the first time to dial in time and distance. Adjusting rack height by one slot can change sear rate significantly; so test and note your best setting.
Minimum Safe Clearance
Ever wondered how close is too close under a countertop broiler? You should maintain a minimum safe clearance to prevent burning and flare-ups. For most countertop units, keep the top of your food at least 3–6 inches below the broiler element. Consult your manual for model-specific limits.
Use the upper-middle rack only when recipes require intense top heat. Avoid placing pans on the very top slot unless the manual permits it. When positioning racks, think in two word discussion ideas like “element proximity” and “pan height.” Always pre-adjust racks before preheating and never leave drips that can ignite.
Treat the safety clearance as non-negotiable; small gaps save you from big problems.
Rack Height And Browning
Curious where to set your rack for perfect browning? For broiler-only cooking, rack height is the single biggest control you have over browning dynamics. Move the rack closer to the upper element for faster, more intense surface caramelization; this is ideal for quick melts, finishing a gratin, or searing thin cuts.
Pull the rack down a notch when you need slower, even browning to avoid burning while the interior finishes. Always position pans so the top of the food sits within the recommended broiler-only clearance for your oven model and never closer than the manual’s minimum. Preheat the broiler briefly, watch closely, and adjust rack height mid-cycle if browning is progressing too quickly or too slowly.
Tray Size Impact
Wondering how the size of your tray changes broiler clearances? Larger trays reduce the gap between food and the broiler element, so you’ll need to raise the rack height to prevent burning. Measure tray depth plus food height, then position the rack to maintain at least the manufacturer-recommended clearance. If unclear, use a middle-upper slot and monitor closely.
If you use a small tray, you can lower the rack height for faster browning without risking flare-ups. Narrow trays also allow more air circulation around food, giving more even sear. Always slide racks into grooves before preheating and avoid overcrowding the tray. Bigger trays may block heat and force you to move the rack higher or extend cooking time.
Meat Thickness Guidelines
How close should your meat sit to the broiler element? Use meat thickness to decide rack placement: thin cuts (1/2 inch or less) need the closest top slot for fast searing, about 2–3 inches from the element.
Medium cuts (3/4–1 inch) do well in an upper-middle slot, roughly 4–6 inches away, balancing browning and even cooking. Thick cuts (1.5 inches or more) belong lower, at 6–8+ inches, so the exterior won’t burn before the center reaches temperature.
Always preheat the broiler, monitor doneness closely, and adjust if flare-ups occur. On countertop ovens with labeled positions, choose the slot that matches these clearances to match thickness to heat intensity.
Frequently Asked Questions
What Rack Is Best for Air Frying in a Countertop Oven?
Use the upper-middle rack for air frying; it gets you closest to the top heating element for crisping while keeping good airflow. You’ll want rack positioning that leaves space above and below the food, so air circulates evenly.
Preheat with the rack in place. Arrange food in a single layer and avoid overcrowding. You’ll get faster browning and a crisp exterior without burning the underside.
Can I Bake Two Trays Simultaneously Without Rotating?
Yes, you can bake two trays simultaneously, but you’ll need careful rack management to get even results. Use middle and lower-middle slots; space trays for airflow and preheat thoroughly.
Swap tray positions halfway if your oven shows uneven browning. If it’s small or heats unevenly, rotating helps. Leave clearance from heating elements and reduce temperature 10–20°F if items brown too fast. Monitor closely for consistent doneness.
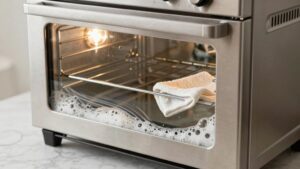
How Do I Remove a Stuck Rack Safely?
Start by turning the oven off and letting it cool completely. Wear oven mitts and safety goggles; these are essential safety tips. Open the door fully, press the rack inward to free any catch, then lift the front slightly and pull straight out.
If it’s stuck, spray a little warm soapy water or oven cleaner, wait, then try again. For stubborn racks, loosen screws or consult the manual. Jot topic ideas for future maintenance.
Are Rack Positions the Same for Convection Models?
No, rack positions aren’t identical for convection models. You’ll follow the same two word ideas (top, middle, bottom) but adjust for convection differences: air circulation makes middle or upper-middle best for even browning, while lower racks give crisper bottoms.
You should space racks for airflow, avoid overcrowding, and preheat with racks set. Check your manual for model-specific slot numbering and recommended positions to get consistent results.
Can I Place a Pizza Stone Directly on the Bottom Rack?
Yes, you can place a pizza stone directly on the bottom rack, but prioritize rack safety and oven stability.
Preheat the stone with the oven to avoid thermal shock. Set the stone on a centered, level rack, and avoid sliding it across cold metal. Use oven mitts or a peel to handle the hot stone.
Do not place it on the oven floor unless the manual permits; check your manual for model-specific recommendations.
Conclusion
You’ve now got the essentials: Rack height affects browning, crisping, and how quickly food cooks. Move the rack closer for faster, browner results, and lower it for gentler, even cooking.
Keep broiler-only items within the maximum and minimum clearances to prevent burning or undercooking. Match tray size and meat thickness to rack position to ensure even heat exposure.
Use the middle rack for most baking; adjust as needed, and watch closely when broiling.