Pressure Cooker Natural Release Vs Quick Release Explained
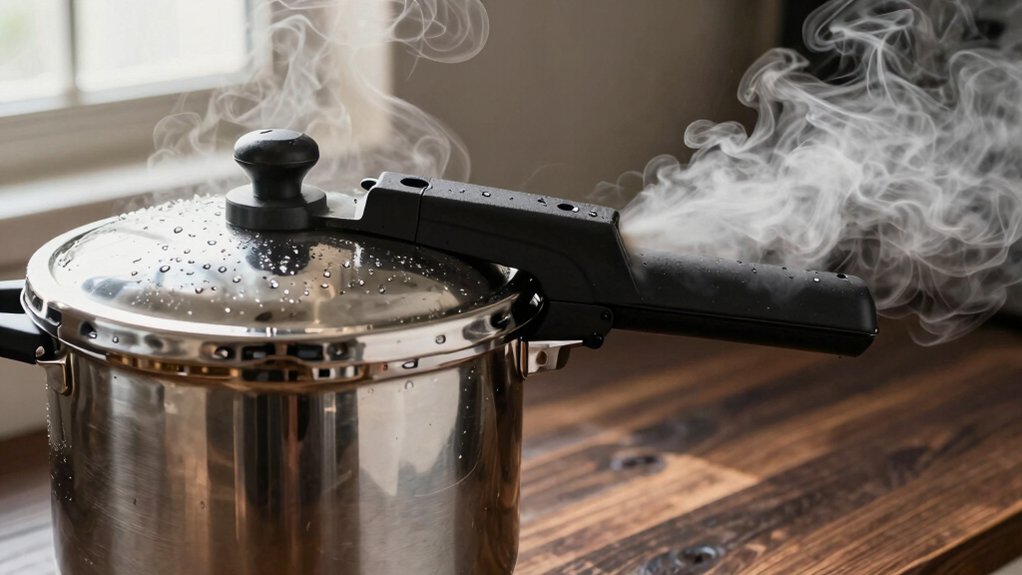
In a pressure cooker, natural release (NR) lets pressure fall gradually. This allows carryover cooking to finish large cuts, beans, fatty or foamy mixtures gently and reduces steam hazards. Expect 5–30 minutes for this process.
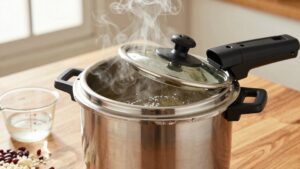
Quick release (QR) vents pressure in 1–5 minutes to stop cooking immediately. This method is ideal for greens, seafood, and delicate textures. At altitude, you’ll often lower pressure or extend time and favor NR for big items.
Keep valves clean and test adjustments. You’ll pick the right method for each recipe as you learn more.
Quick Overview
- Natural release lets pressure fall gradually (5–30 minutes), finishing cooking gently and reducing foaming or toughening of large meats.
- Quick release vents steam immediately (1–5 minutes) and stops carryover cooking. This method is best for vegetables, seafood, and greens.
- Use a hybrid: about 10 minutes natural release, then quick release to balance tenderness and prevent overcooking.
- At high altitude, lower pressure or extend cook time. Prefer natural release for big cuts and braises to ensure doneness.
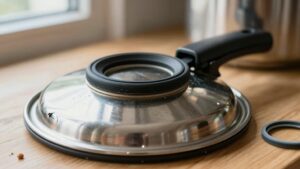
- Always follow manufacturer guidance, keep valves clean, and never force-open. Wait for the float valve to drop before opening.
Release Time Comparisons
How long will your meal wait? You’ll use NR tips when you want 5–30 minutes of gradual depressurization for braises, stews, rice, or porridge: food keeps cooking gently and foam risk drops. Use QR cautions for quick-cooking greens or seafood. 1–5 minutes of manual venting stops carryover cooking but directs steam hazards. Choose based on texture and time.
| Method | Typical Time | Best For |
|---|---|---|
| Natural (NR) | 5–30 min | Meats, stews, oatmeal |
| Quick (QR) | 1–5 min | Tender greens, seafood |
| Hybrid | ~10 min NR + QR | Faster tenderizing, less splatter |
Inspect valves, avoid QR under cabinets, and adjust when recipes swap release methods.
Pressure Release Timing Chart
Now that you’ve compared NR, QR, and hybrid times, a timing chart will help you pick the right release method at a glance. Use a simple chart that lists food type, cook time, recommended release, and minutes to wait. That keeps decisions evidence-based and practical, avoiding reliance on irrelevant topic tangents or unrelated concept debates.
- Meat (large roasts): long cook, NR 10–20 min.
- Beans & grains: medium cook, NR 10–15 min or abbreviated NR.
- Vegetables & seafood: short cook, QR immediately to 2 min.
- Foamy or fatty mixtures: medium/long cook, NR full 15–30 min.
Follow manufacturer guidance and adjust for pot fullness. Charting removes guesswork and speeds safe, consistent results.
Altitude Adjustment Guidance
At higher altitudes, water boils at lower temperatures. So, you’ll need to adjust pressure and often increase cooking time to reach the same level of doneness.
Reduce liquid slightly and follow your recipe’s altitude guidance or manufacturer charts. Check that your cooker’s safety and pressure valves are clean and functioning since venting behavior can change with elevation.
These adjustments help you use natural or quick release reliably and safely without over- or under-cooking.
Altitude Effects On Boiling
Because water boils at lower temperatures as elevation increases, you’ll need to adjust pressure-cooker timing or methods when cooking at altitude. Lower boiling points mean foods take longer to reach the same level of doneness; so increase cook times slightly or favor a longer natural release for large cuts and braises. Use quick release for delicate items to avoid overcooking during extended depressurization.
Altitude effects alter boiling dynamics inside the sealed environment. Less ambient pressure changes how steam forms and how heat transfers. Practically, add modest time to tested recipes; monitor texture rather than relying solely on clock time. Prefer natural release when residual heat can finish tough proteins.
For quick-cooking vegetables or seafood, stick with quick release to prevent mushiness.
Adjusting Pressure Settings
How should you alter pressure settings when cooking at altitude? You should decrease pressure or extend cook time because water boils at lower temperatures as altitude rises. Many manufacturers recommend lowering high-pressure settings by 1 psi for each 1,000 feet above sea level or using the low-pressure setting when available. Confirm your model’s guidance; some list explicit adjustments.
Lowering pressure reduces internal temperature, so watch doneness closely. Also, prioritize non-pressurized safety: never force-open the lid and wait for the float valve to drop fully. Perform regular valve maintenance; a clogged or malfunctioning valve skews pressure and timing.
Calibrate by testing simple recipes at your altitude. Note adjustments and document settings that yield consistent, safe results for future cooks.
Increase Cooking Time
Why increase cooking time at higher elevations? At altitude, lower atmospheric pressure reduces boiling point; therefore, foods take longer to reach the same tenderness or pasteurization. You should add about 5%–10% more time per 1,000 feet above sea level as a starting point. Then test doneness and adjust.
Use recipes’ texture cues rather than only clocks. If you’re unsure, err on slightly longer cooking rather than faster release that risks undercooking. Don’t rely on unclear safety assumptions about pressure alone; follow manufacturer guidelines for altitude and food safety.
If extended times aren’t practical, consider alternate methods like pre-soaking, simmering briefly before sealing, or using smaller cuts to speed heat penetration while retaining safe, effective results.
Reduce Liquid Volume
When you’re cooking at higher elevations, reduce the liquid you start with because increased evaporation and longer cook times concentrate flavors and can leave dishes too thin if you don’t adjust. You should cut liquid by about 5–10% for every 1,000 feet above sea level as a starting point; then test and tweak. That reduces extended pressure times and helps prevent over-thinning while maintaining proper heat transfer.
For foamy foods, smaller volumes also improve instant foam control and lower the chance of sputtering during release. Monitor fill lines and avoid overfilling; less liquid means less risk to lid safety and to clogging the vent. Keep notes on each recipe so you refine adjustments quickly and reproducibly.
Safety Valve Considerations
Curious about how altitude affects your pressure cooker’s safety valves? At higher elevations, lower atmospheric pressure raises boiling points and shifts internal pressures. Your cooker may take longer to reach and release target pressures.
Check your manual: manufacturers often provide altitude adjustment tables or recommend adding 5–15% more cooking time per 1,000 feet. Safety valve design can vary; some models compensate better for altitude changes. Know whether yours has an adjustable pressure regulator or fixed settings.
Perform regular valve maintenance: clean the vent, inspect seals, and test the safety valve occasionally to ensure it vents at the correct pressure. If you live above 5,000 feet, consider a calibrated gauge or consult manufacturer support to confirm safe operation.
Frequently Asked Questions
Can I Quick Release Sous Vide–Style Sealed Foods Safely?
Yes, you can quick release sous vide–style sealed foods, but prioritize safety considerations. Keep your face and hands away from the steam path. Vent slowly if bags are near the valve, and watch for hot liquid spurts from fatty or foamy packages.
Use tongs to remove bags; tilt the lid away from you, and avoid quick release under cabinets. If contents are thick or foamy, prefer a short natural release first.
Will Natural Release Affect Flavor Concentration or Seasoning?
Yes, natural release can concentrate flavors more than quick release seasoning. As pressure falls slowly, liquids keep simmering and reduce slightly; so sauces and broths intensify and seasonings meld deeper into meats.
If you want brighter, less-reduced results, use quick release to stop cooking immediately and preserve more volatile aromatics. For balanced outcomes, try an abbreviated natural release (about 10 minutes) then quick release to get both concentration and freshness.
Does Release Method Change Nutrient Retention in Vegetables?
Yes, release methods slightly affect vegetable nutrients. You’ll retain most water-soluble vitamins (like C, B) because pressure cooking’s short time limits losses. Quick release stops cooking sooner, preserving a bit more heat-sensitive nutrients. Natural release continues gentle cooking, causing marginal additional loss.
For best nutrient retention, you’ll use minimal water, shorter cook times, and quick release for delicate vegetables. Use natural release when texture or safety demands it.
Can I Brown Meat After Pressure Release Without Cooling?
Yes, you can brown meat after pressure release without cooling, but you’ll need care. Use quick release if you want immediate access. Dry surfaces with paper towels and pat meat to remove excess juices so it sears.
If you used natural release, the meat will be hotter and wetter; consider brief resting or blotting. Avoid sudden splatter; use high heat, enough oil, and keep face and hands clear of steam.
Are There Dishwasher-Safe Parts Affected by Steam Exposure?
Yes, some dishwasher-safe parts can still be affected by steam exposure. You should check manufacturer guidance. Seals, silicone gaskets, and electronic lids are often labeled dishwasher safe; however, they can warp, degrade, or lose sealing if repeatedly blasted by steam.
To protect them, remove sensitive parts, wash on the top rack or hand-wash, and avoid placing steam-prone components under high-heat cycles. Regular inspections ensure continued safe performance.
Conclusion
You now know when to use natural release versus quick release: natural release preserves texture and prevents splatter for delicate foods. Quick release saves time and stops overcooking firmer items. At higher altitudes, increase cooking time or pressure, and monitor liquid; reduce liquid carefully to avoid scorching.
Adjust your pressure setting for dense foods. Always check your cooker’s safety valve and seals before use. Apply these practical rules to get consistent, safe results.